

Renovation at Marcotte Style
Renovation
From shell to key, with one point of contact and one schedule. We draw the new layout, coordinate the trades and finish right through to the furniture.
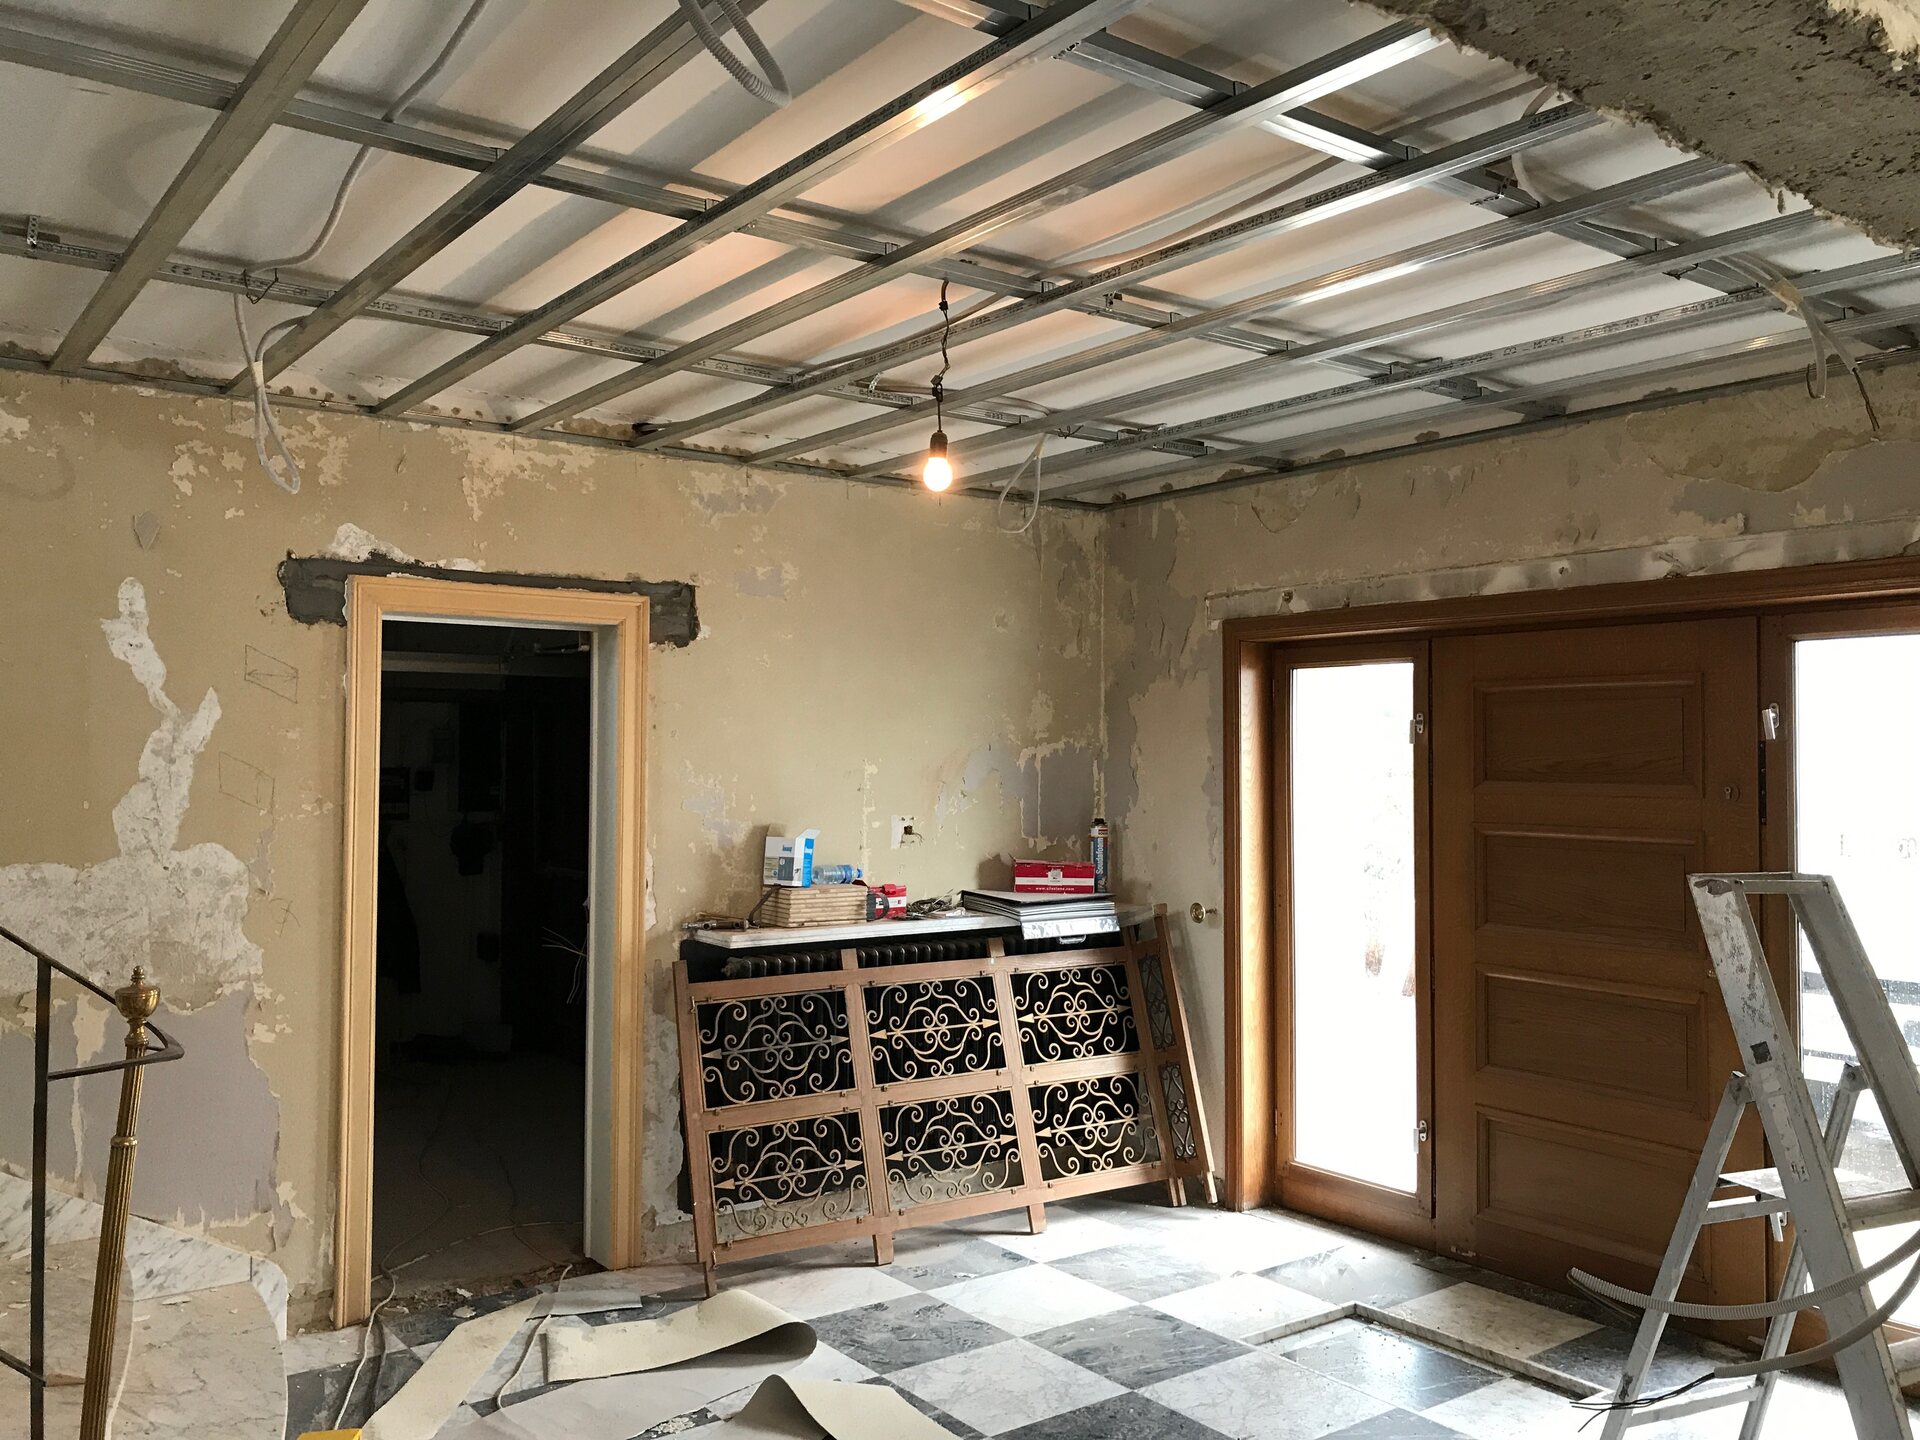
What it is
From shell to key
A renovation with us does not stop at the shell. We draw the new layout, have the services follow it and finish right through to the cabinetry, the textiles and the lighting. You have one point of contact and one schedule, from the first survey to the last adjustment.
What we draw goes into the same file as for a complete interior: survey drawing, layout plan, joinery drawings, lighting and electrical plan, schedule of materials and a 3D with a specification.
- Walls removed or added, with the openings set out on the plan
- Services renewed: pipework, drainage, electrics and lighting
- Floors and ceilings, right down to the skirting and the cornice
- Joinery and furniture, drawn on the same sheet
- Installation by our own team, with the trades coordinated
The file
A drawing for every trade
Everything is discussed beforehand and set down in a renovation file. It holds not one drawing but a series: every trade gets its own, with the dimensions that apply to it.
That way everyone knows what is expected before they arrive on site, and nobody has to decide on site what should have been on paper.
- Demolition, showing what stays and what may go, down to the wall
- Shell, the new openings and the load-bearing parts
- Plumbing, the pipework and drainage set to the dimensions of the unit
- Electrics and lighting, every point, every switch, every dimmed circuit
- Plastering, with the re-measured walls the joinery meets
- Tiling, the setting out and where the cut falls
- Joinery, each fitted cabinet drawn separately, to the millimetre
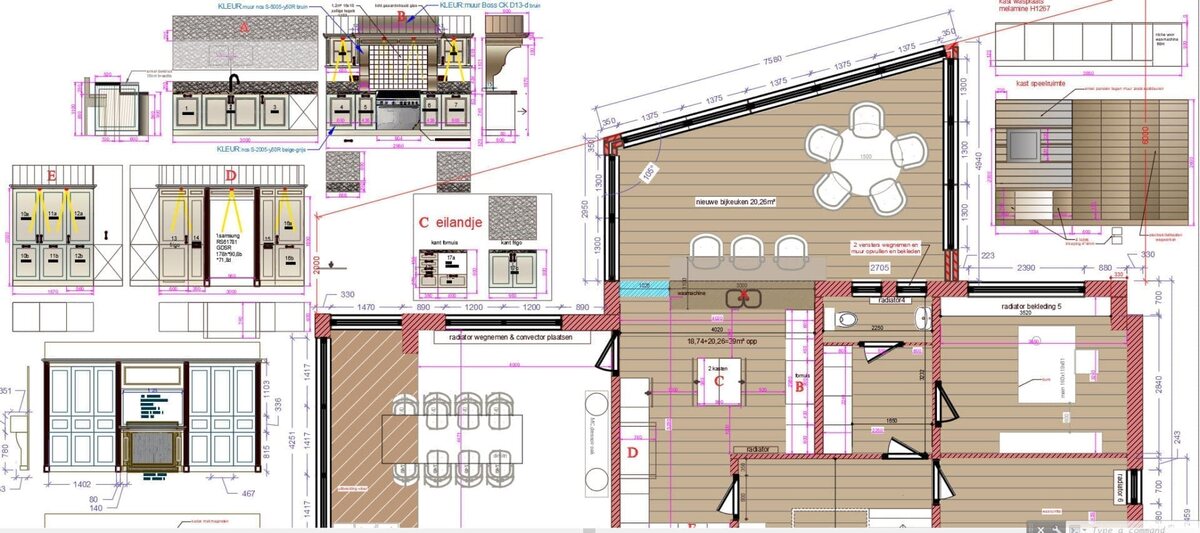
Everything reconciled on one drawing
This is a detail of a floor plan for a conversion. The new kitchen, the bedrooms, the fitted cabinets and the furniture all appear together. On paper you can already see whether a door still opens once the cabinet is in place, and whether a chair can get past behind the table.
Before and after
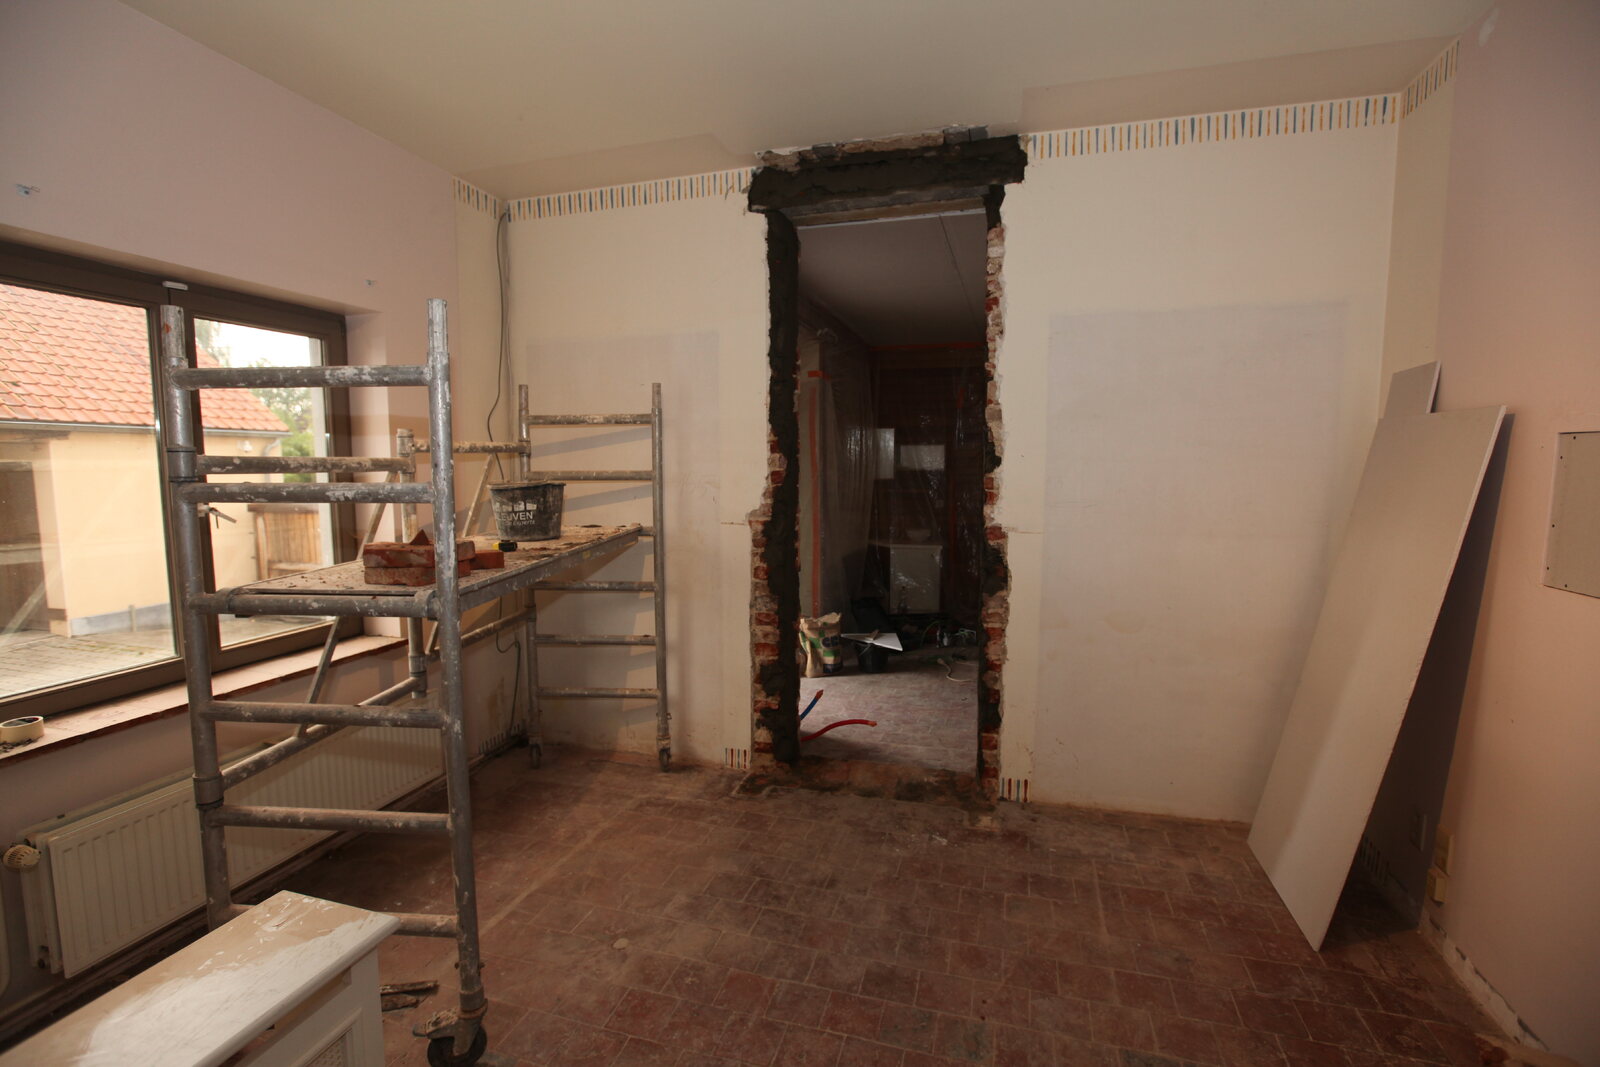
The same room, twice
Drag the handle aside and you see what happened to the room. The viewpoint is the same each time, so the comparison is honest. None of these rooms became any larger.
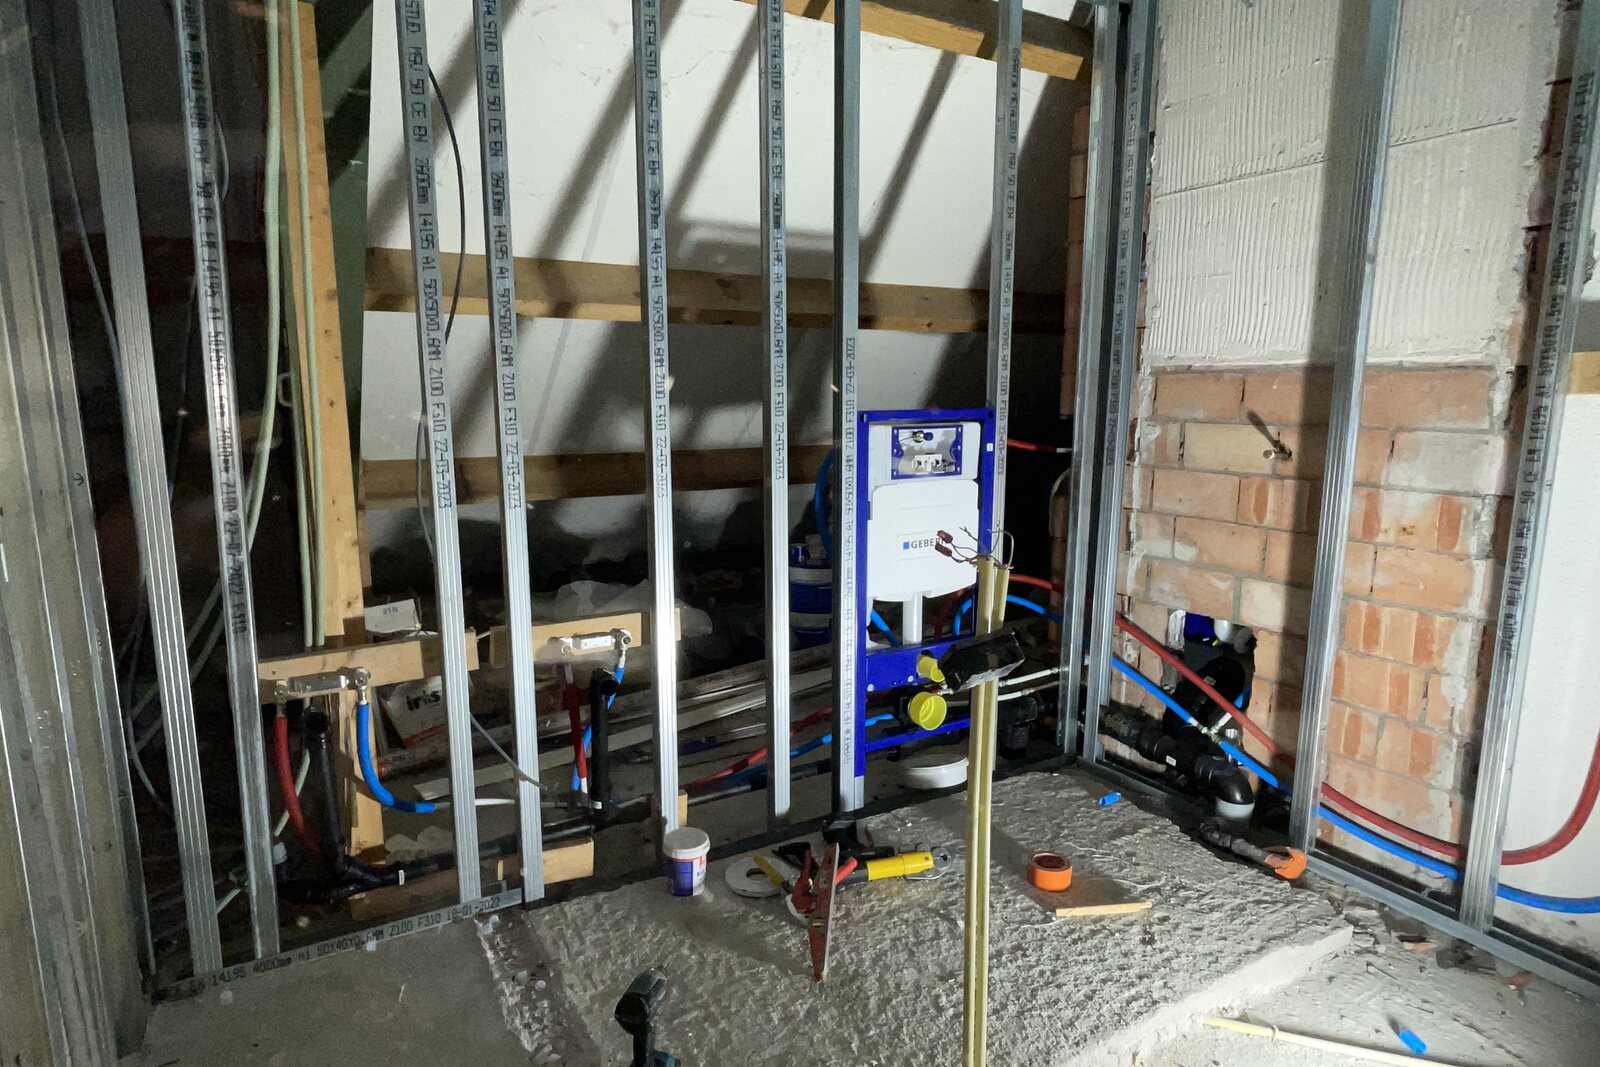
The bathroom, back to the pipework
Everything out down to the shell: the pipework run again, the drain moved to where the unit goes, and only then the tiles.

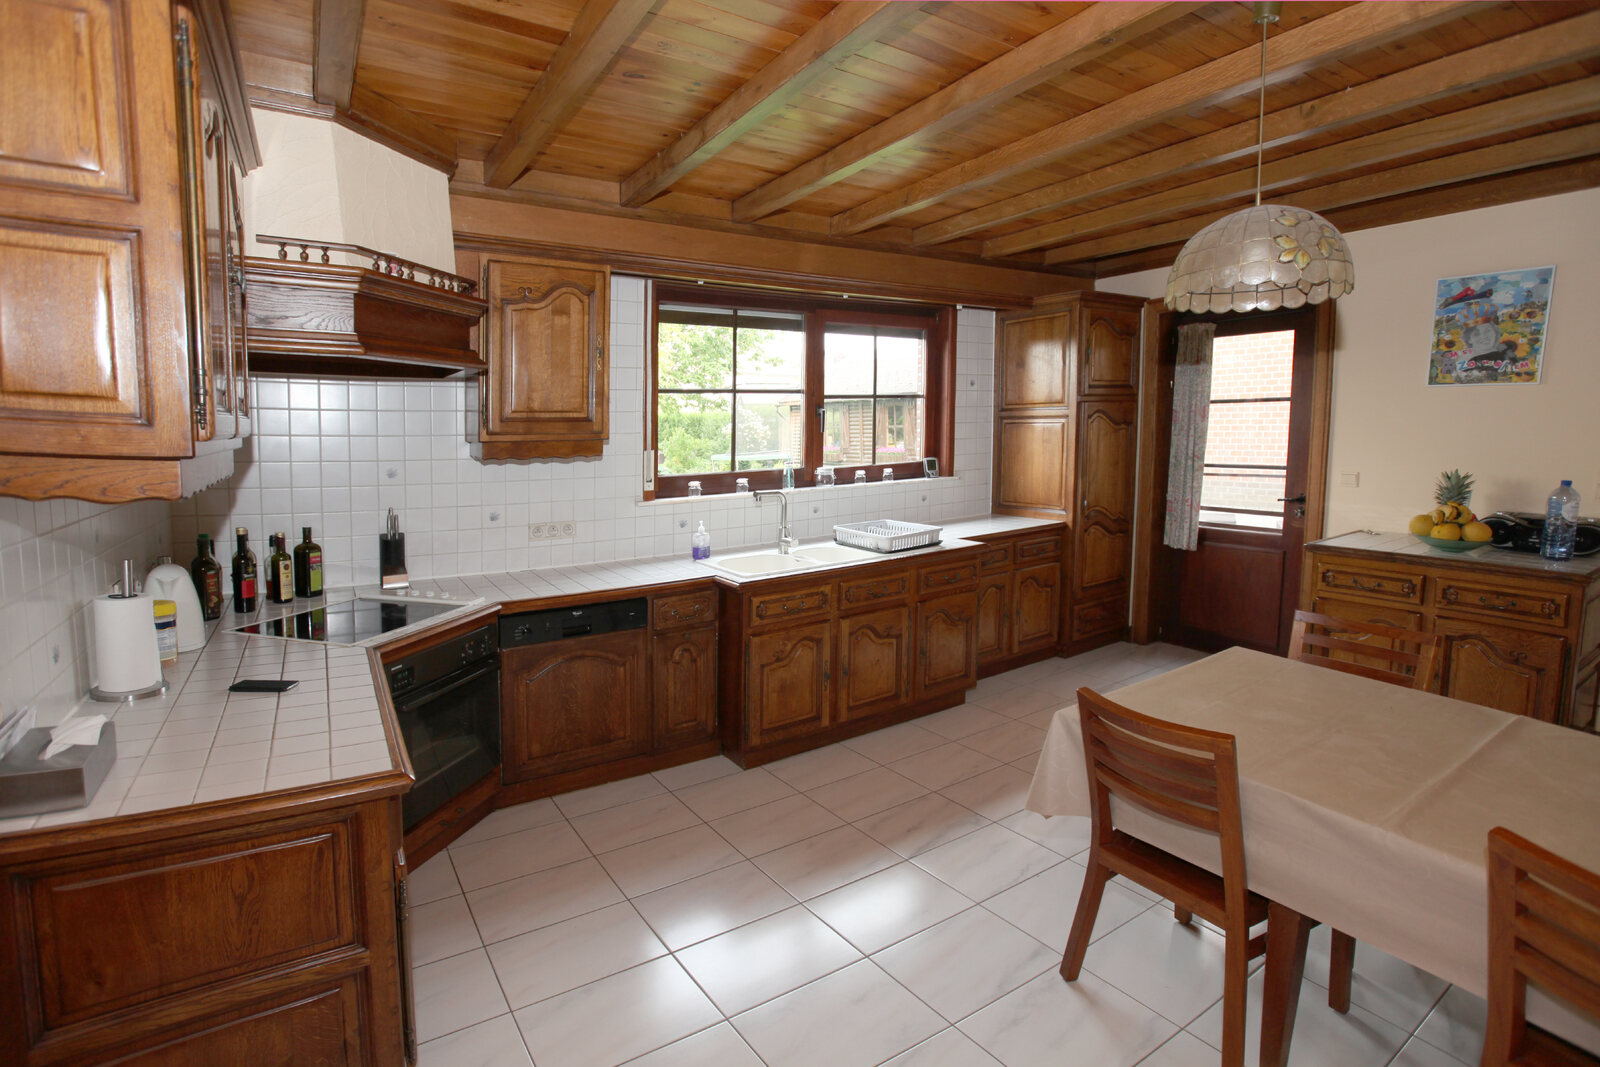
The kitchen, laid out again
The old kitchen sat in a closed room. Opening the wall brought a view of the garden, and moved the cooking area to the other side.

The living space, from crowded to open
The same square metres, divided differently. The route now runs along the window wall, so a table for ten fits where a seating group used to stand.

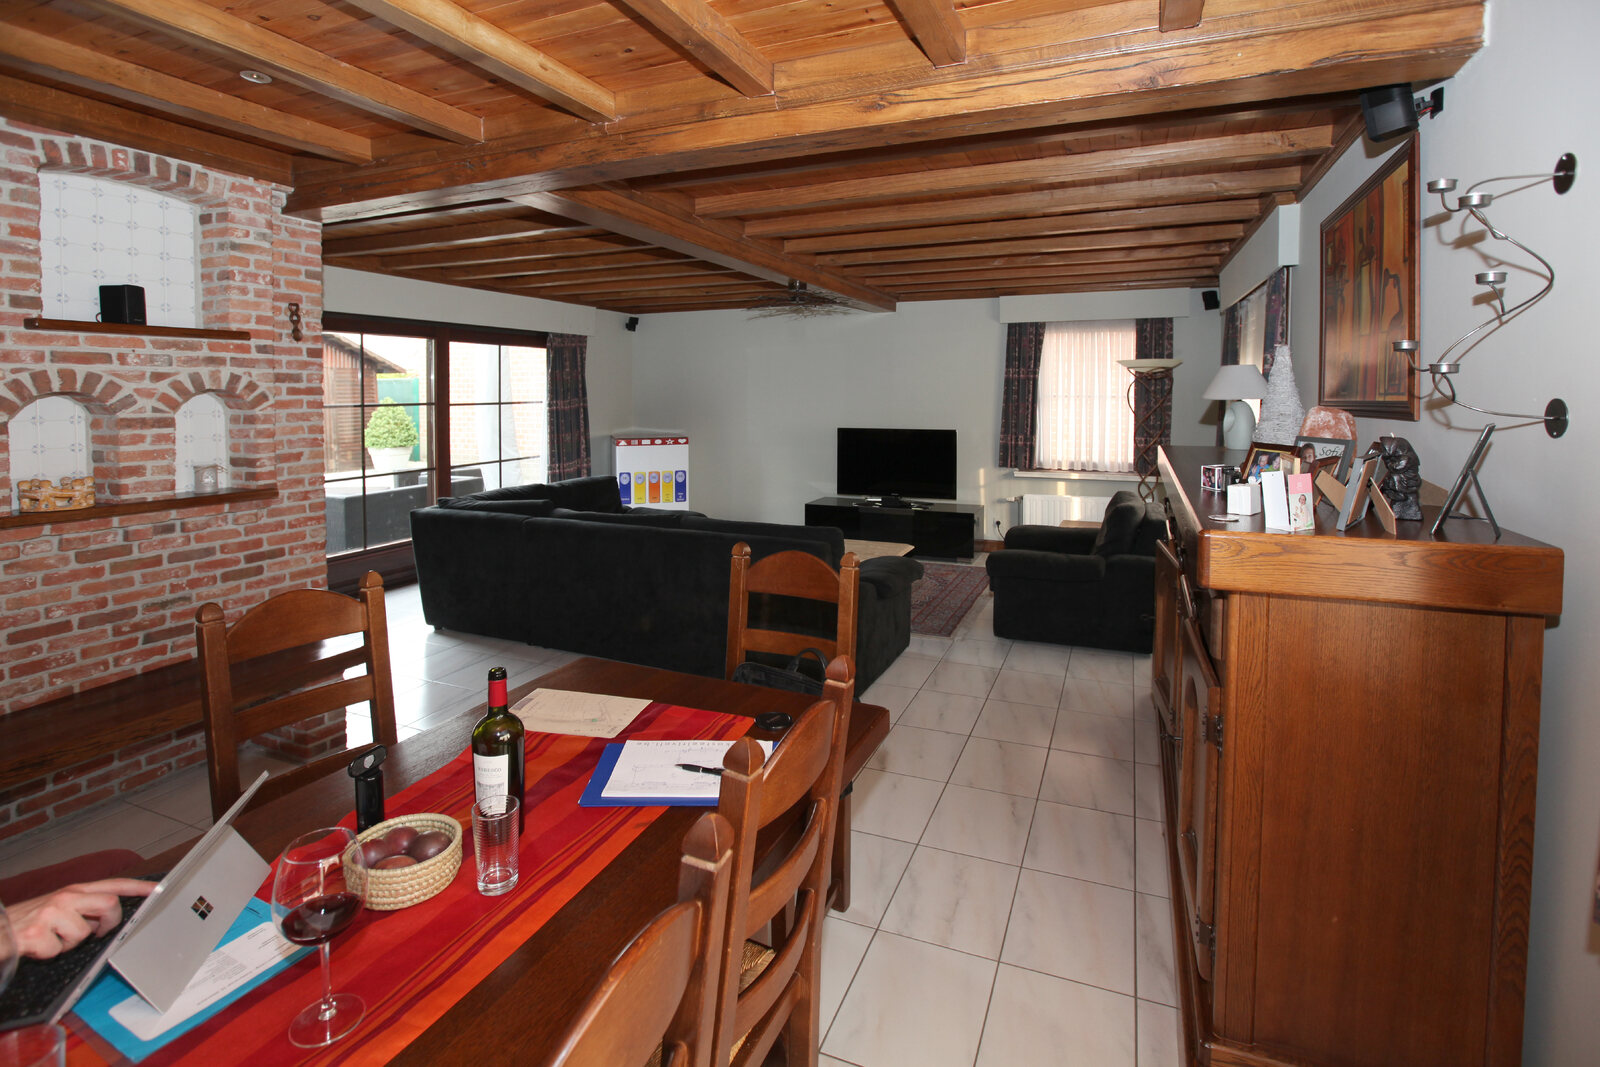
The staircase, brought into the light
The staircase stayed exactly where it was. What changed is the finish: the treads sandblasted, the handrail lacquered white and the wall behind it plastered.

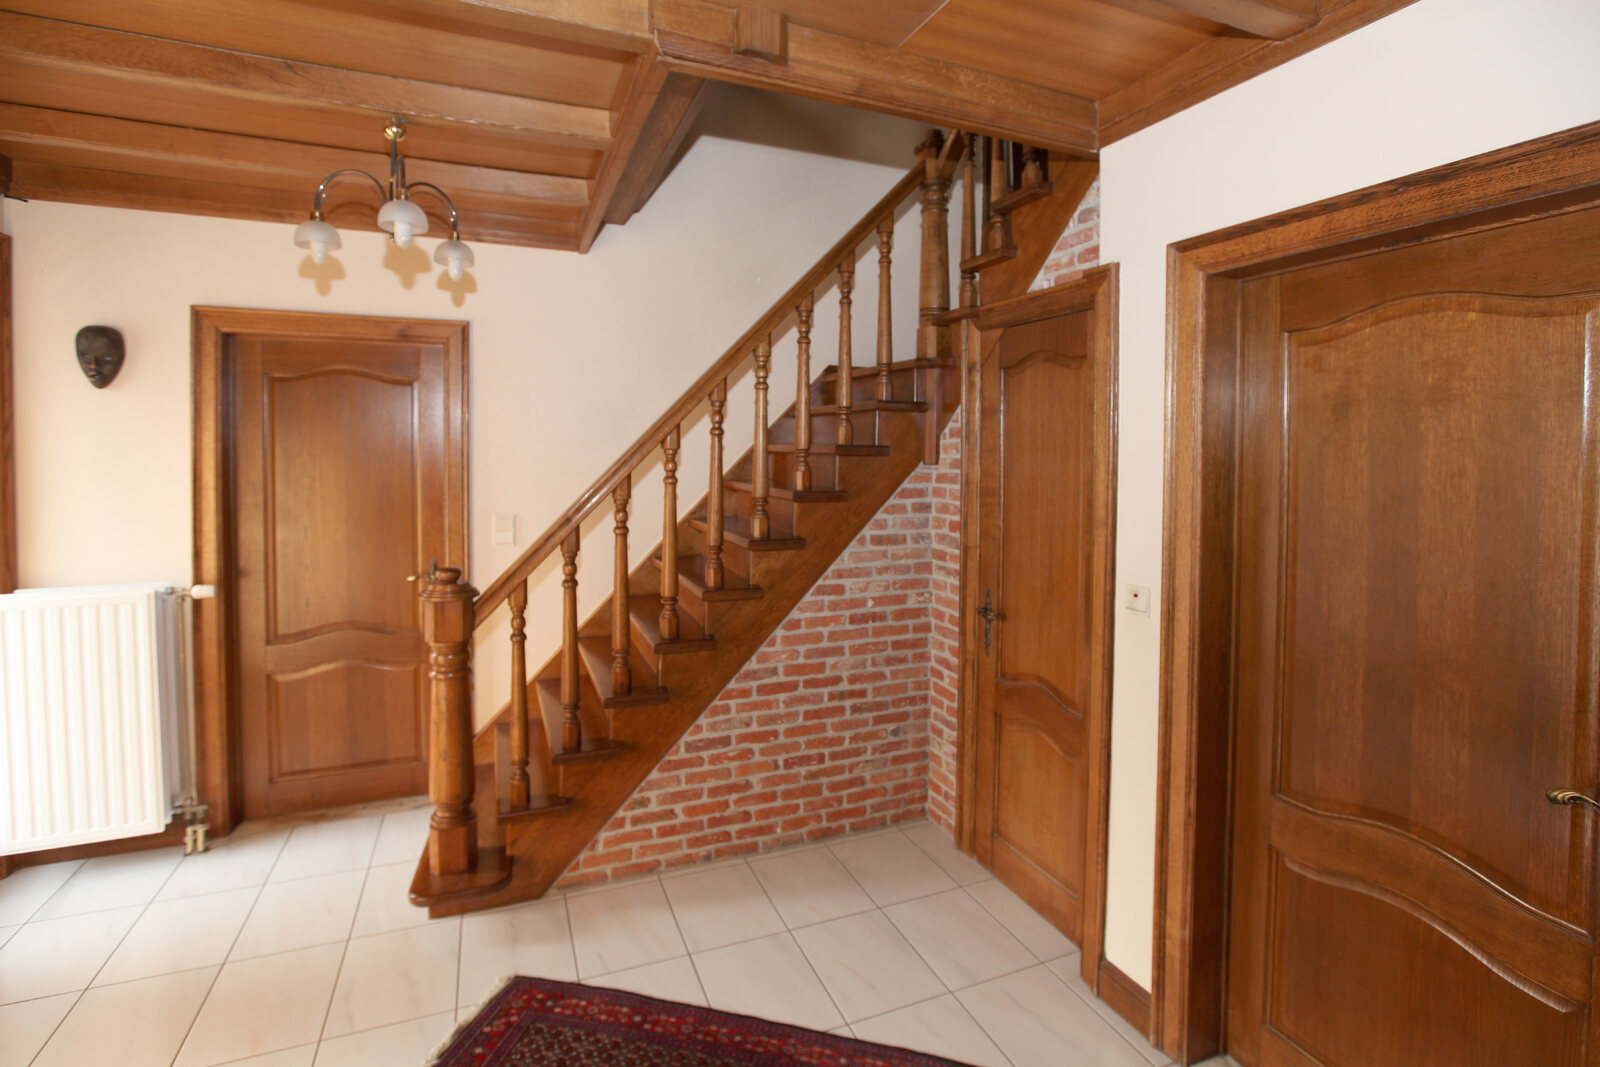
The attic, turned into a dressing room
An attic nobody used. The sloping sides are filled with fitted cabinets, and the roof window now lights the mirror instead of a pile of boxes.

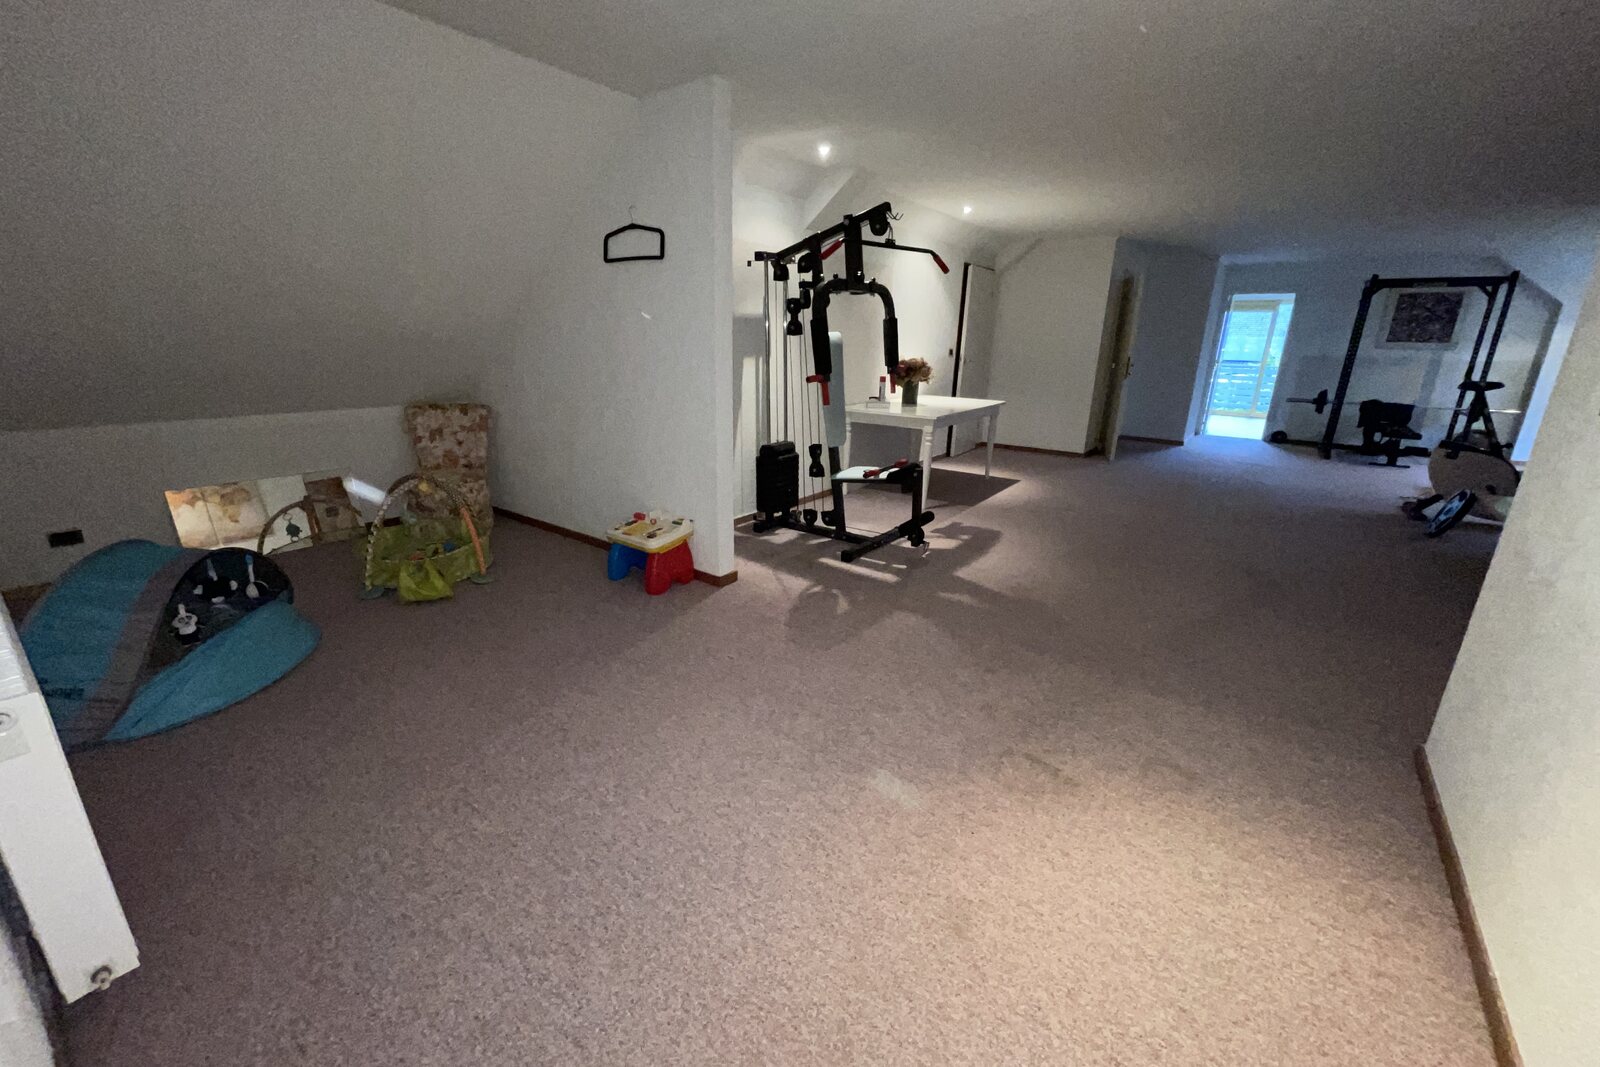
The bedroom, made calmer
The red wall and the timber ceiling made the room feel low. White panelling and a built-in wall of cabinets make it look taller than it is.

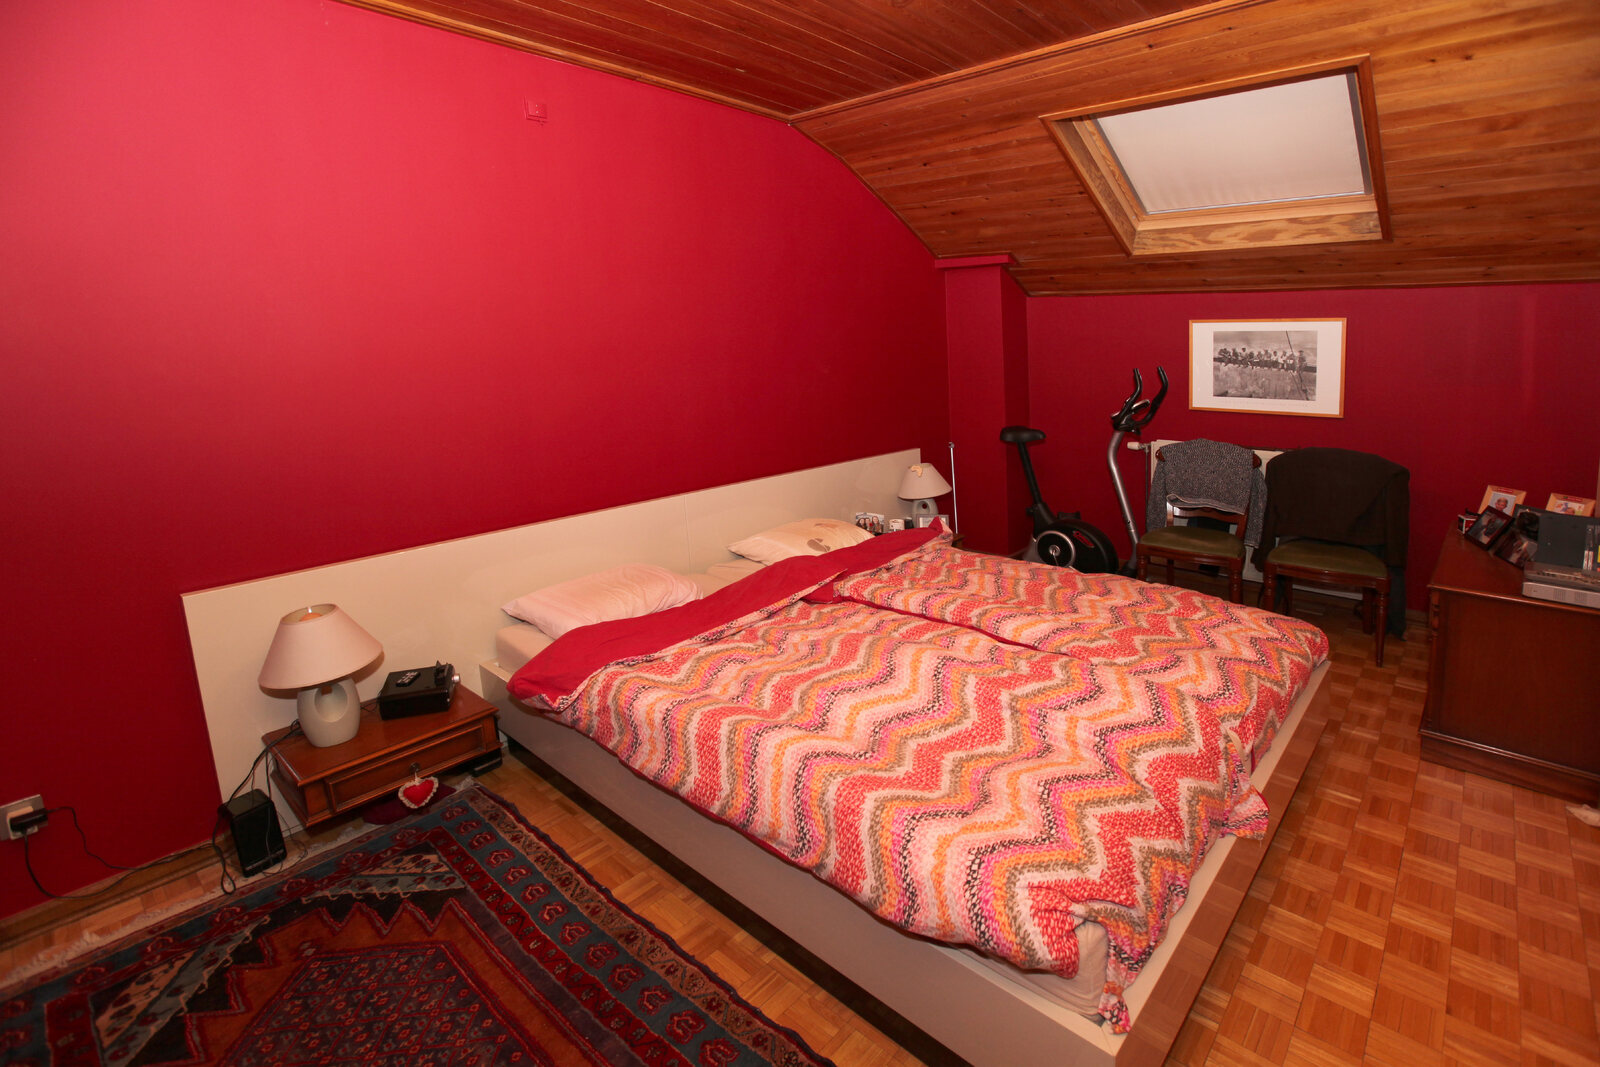
The study, out of nothing
A room in bare shell, the floor still open. It now holds a fitted desk, with the cables run inside the cabinet.

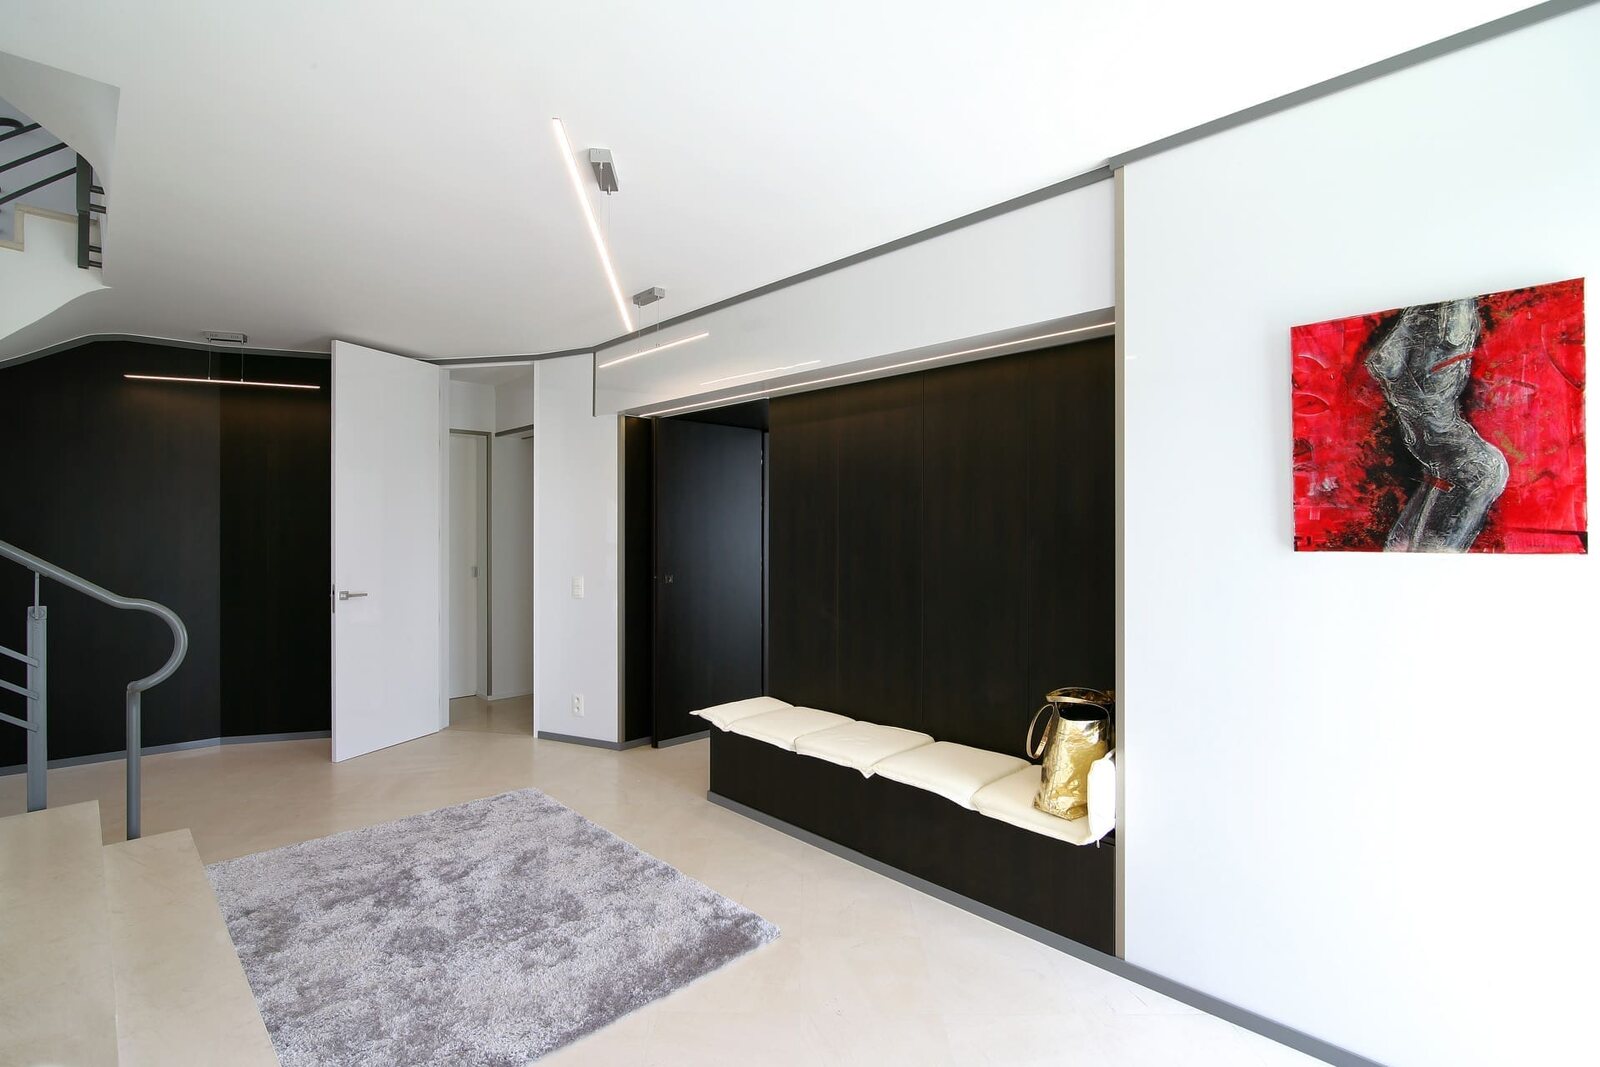
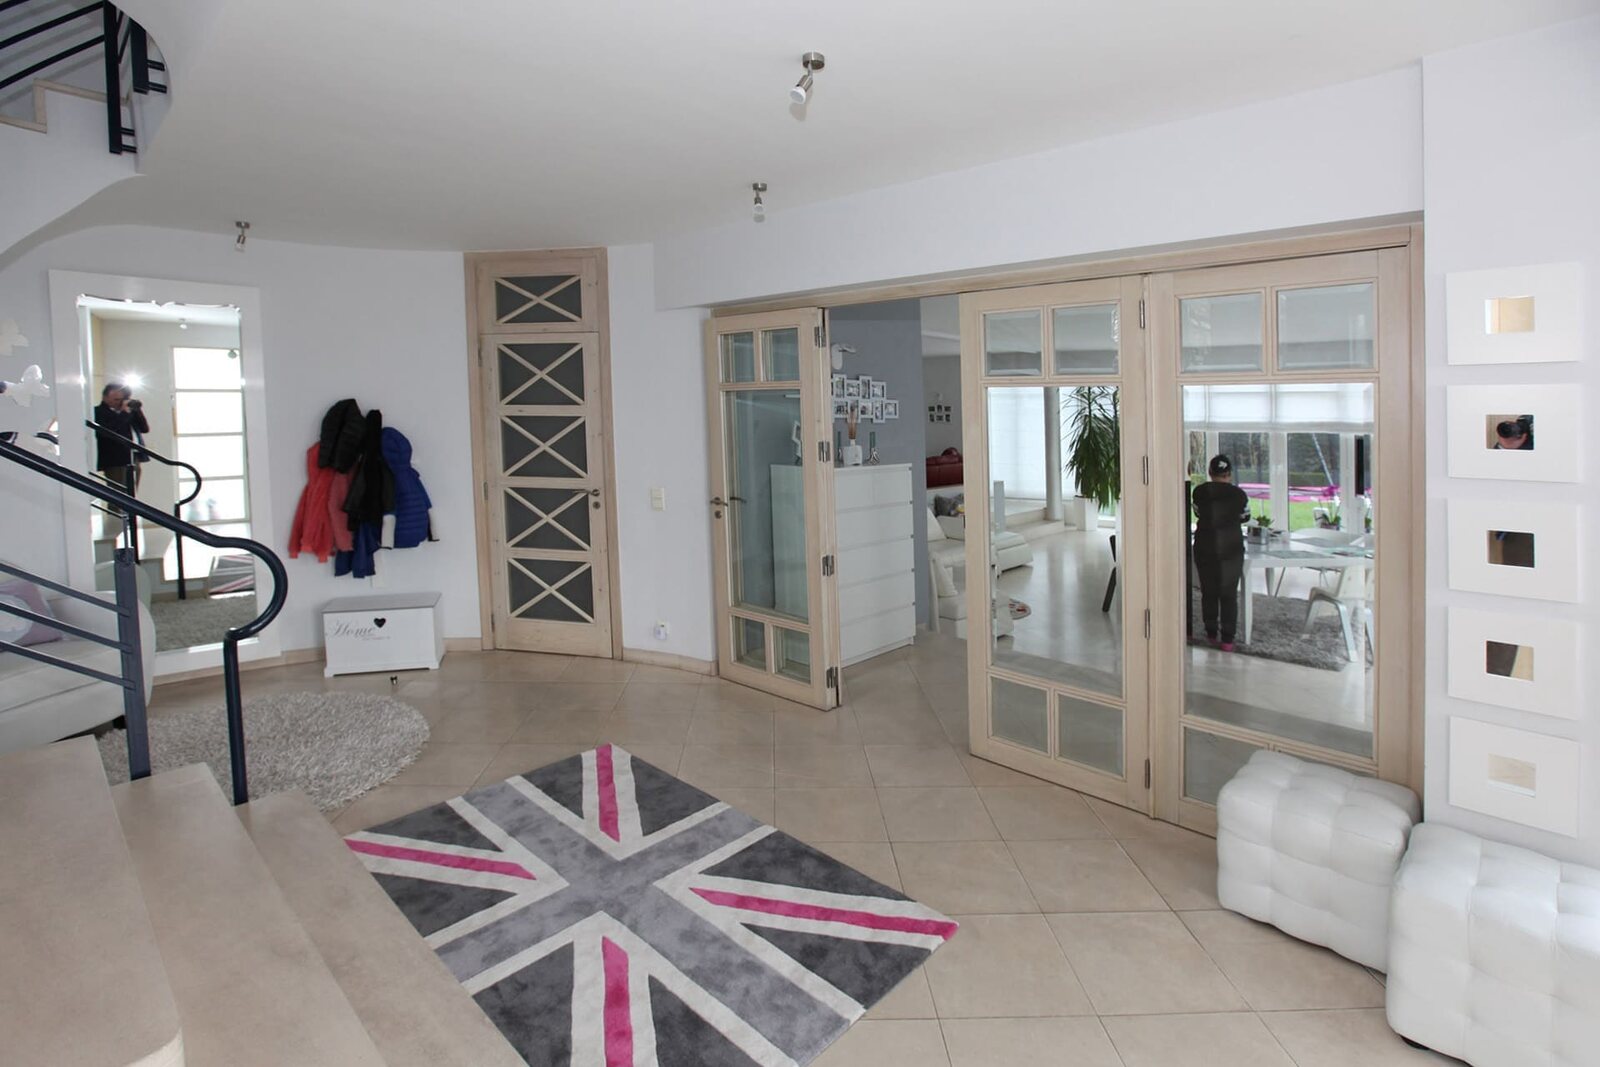
The hall, laid out again
The staircase stayed, the rest did not. What was a passage became a room in its own right, with the cabinets set into the wall and the light aimed at the stairs.
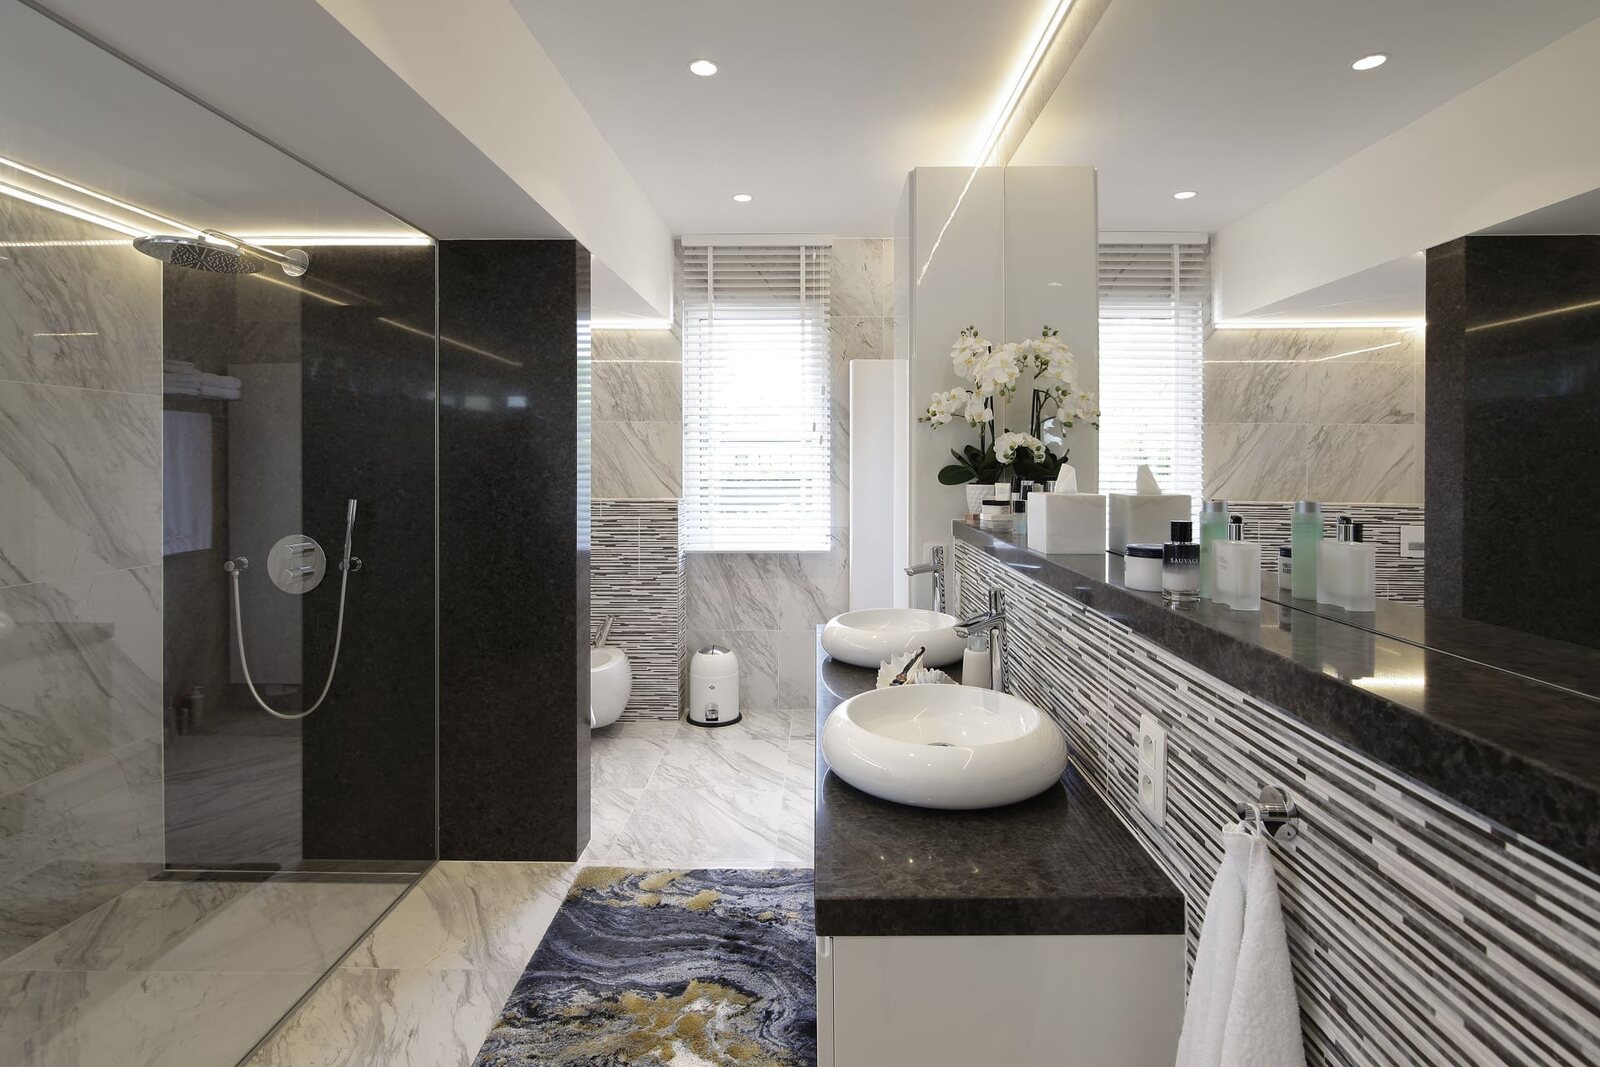
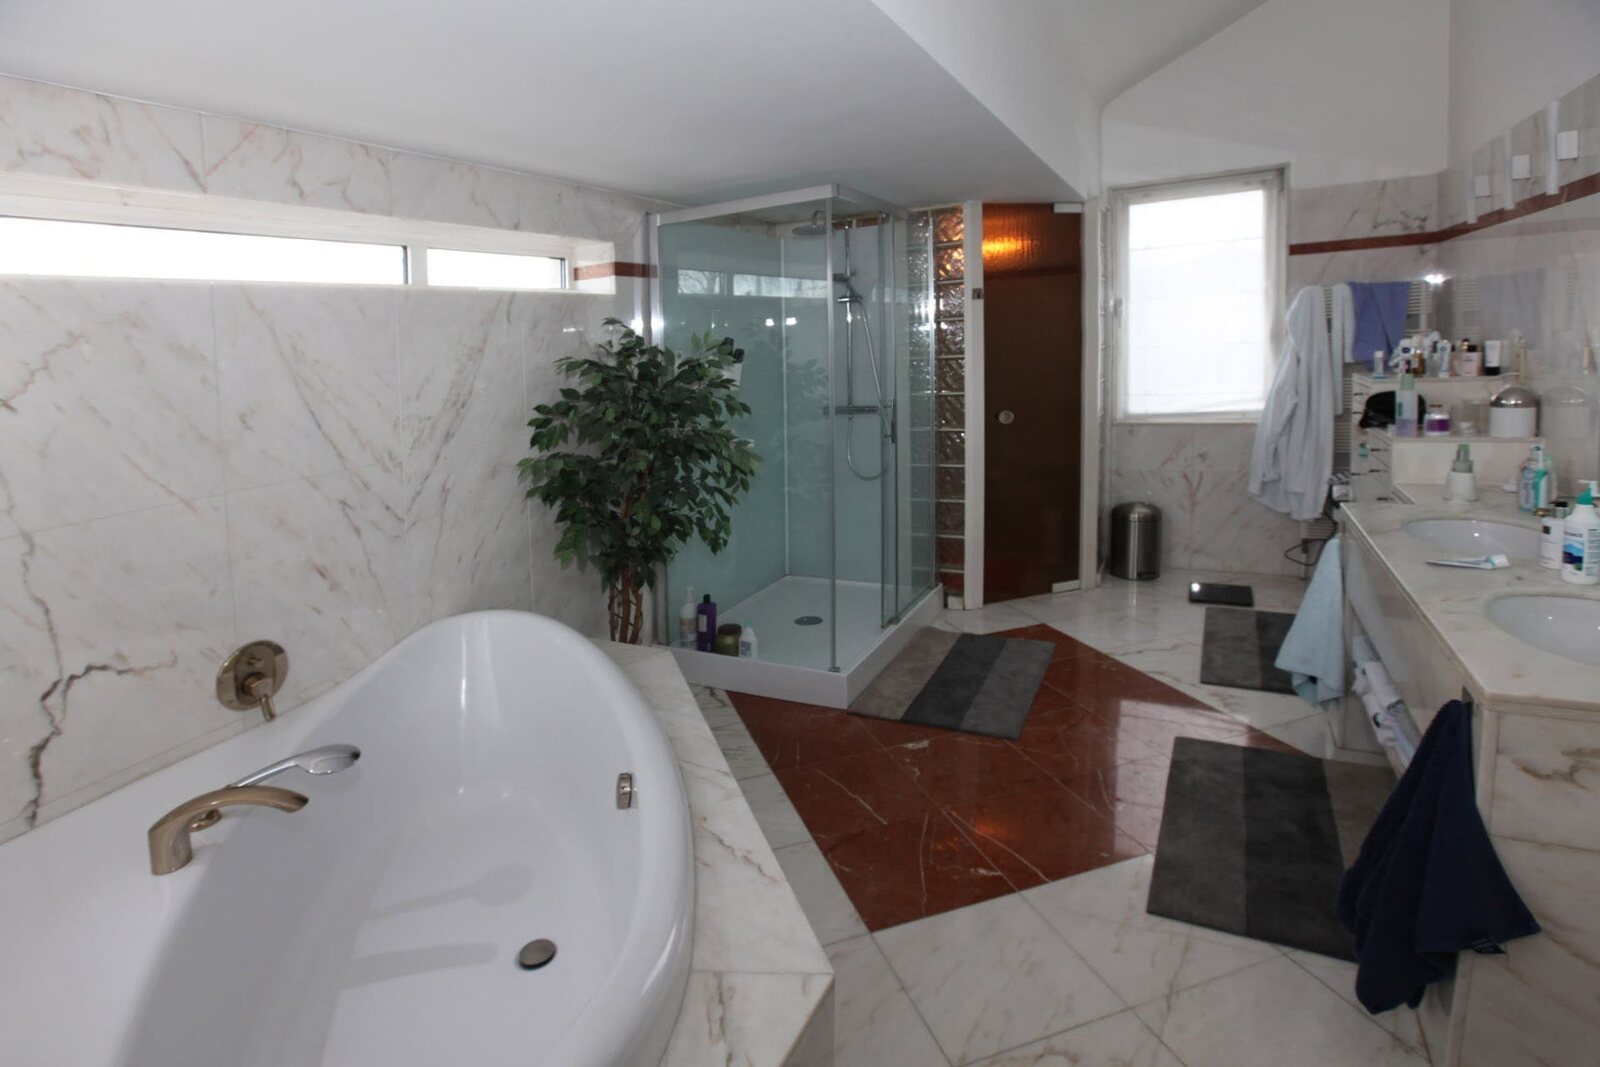
The main bathroom
The same square metres, with the shower moved to the side where the drain could go. That left room for a double basin where a bath used to stand.
During the works
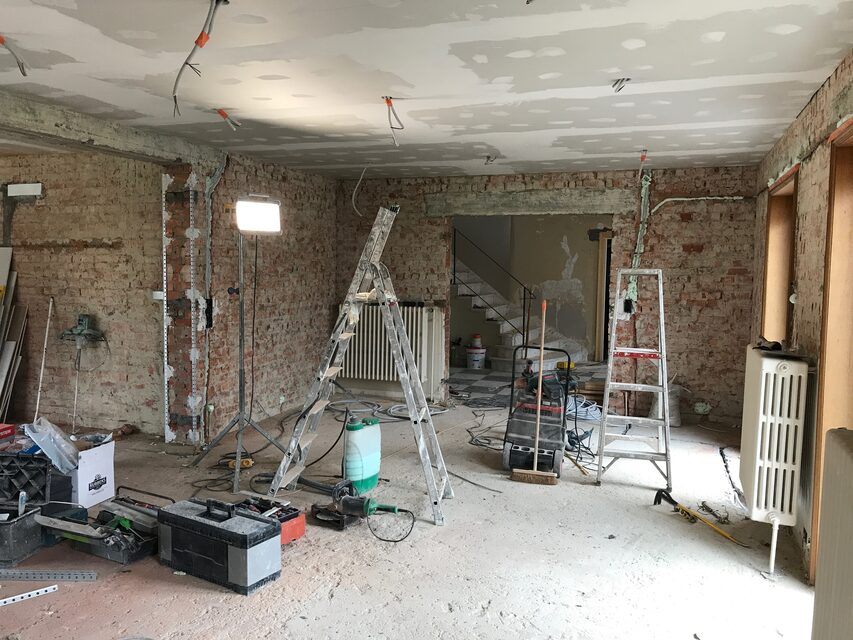
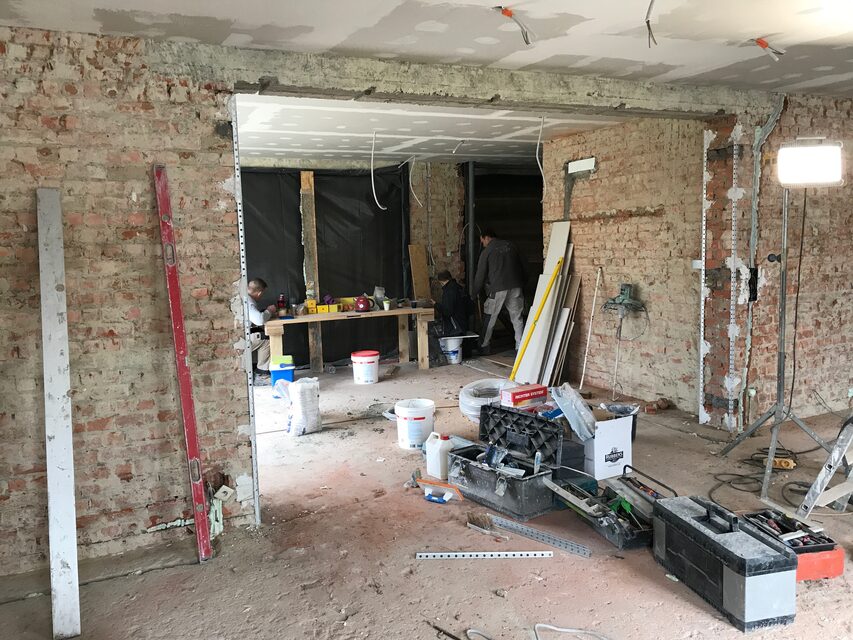
The stage nobody photographs
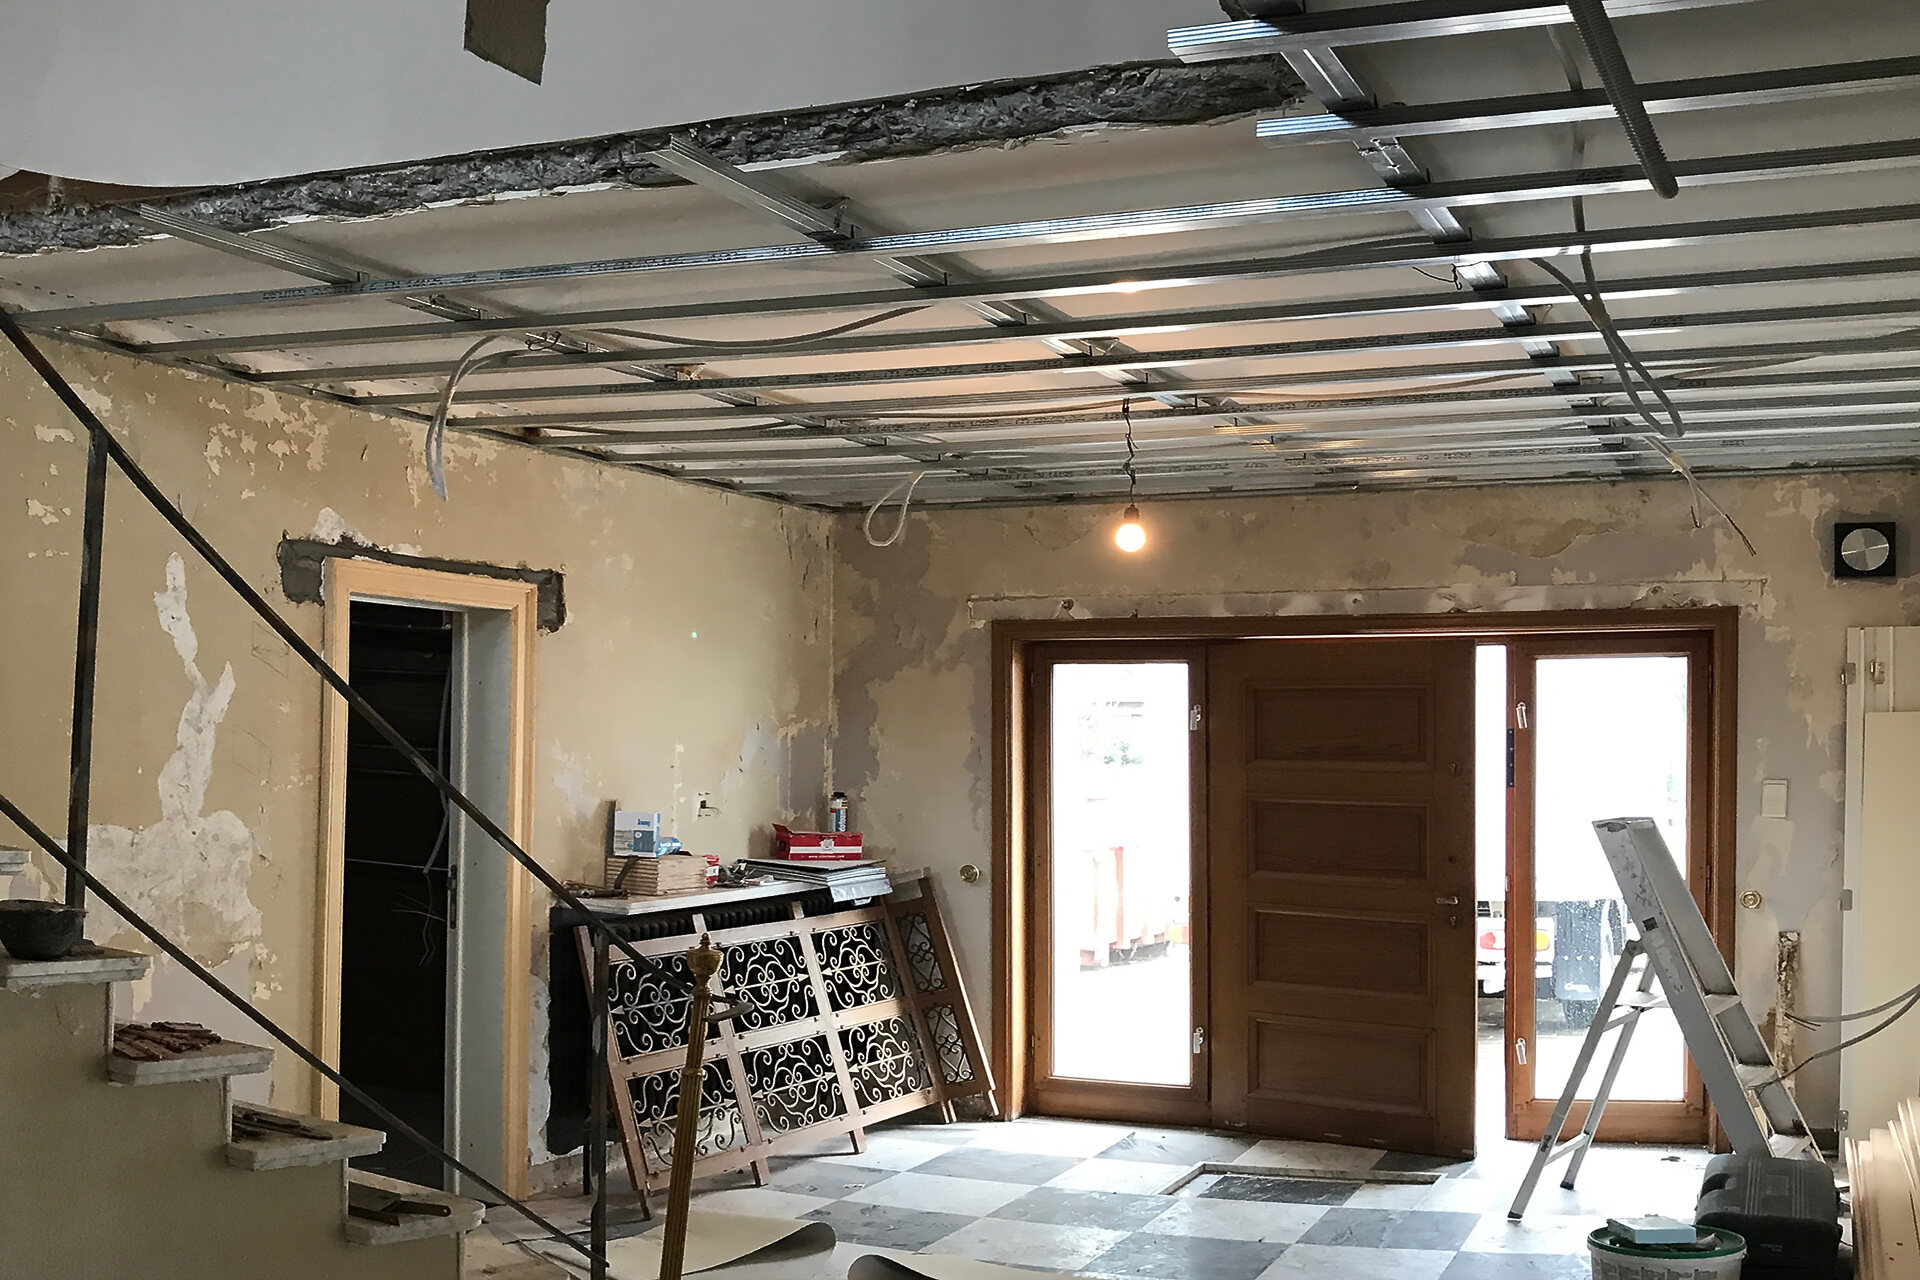
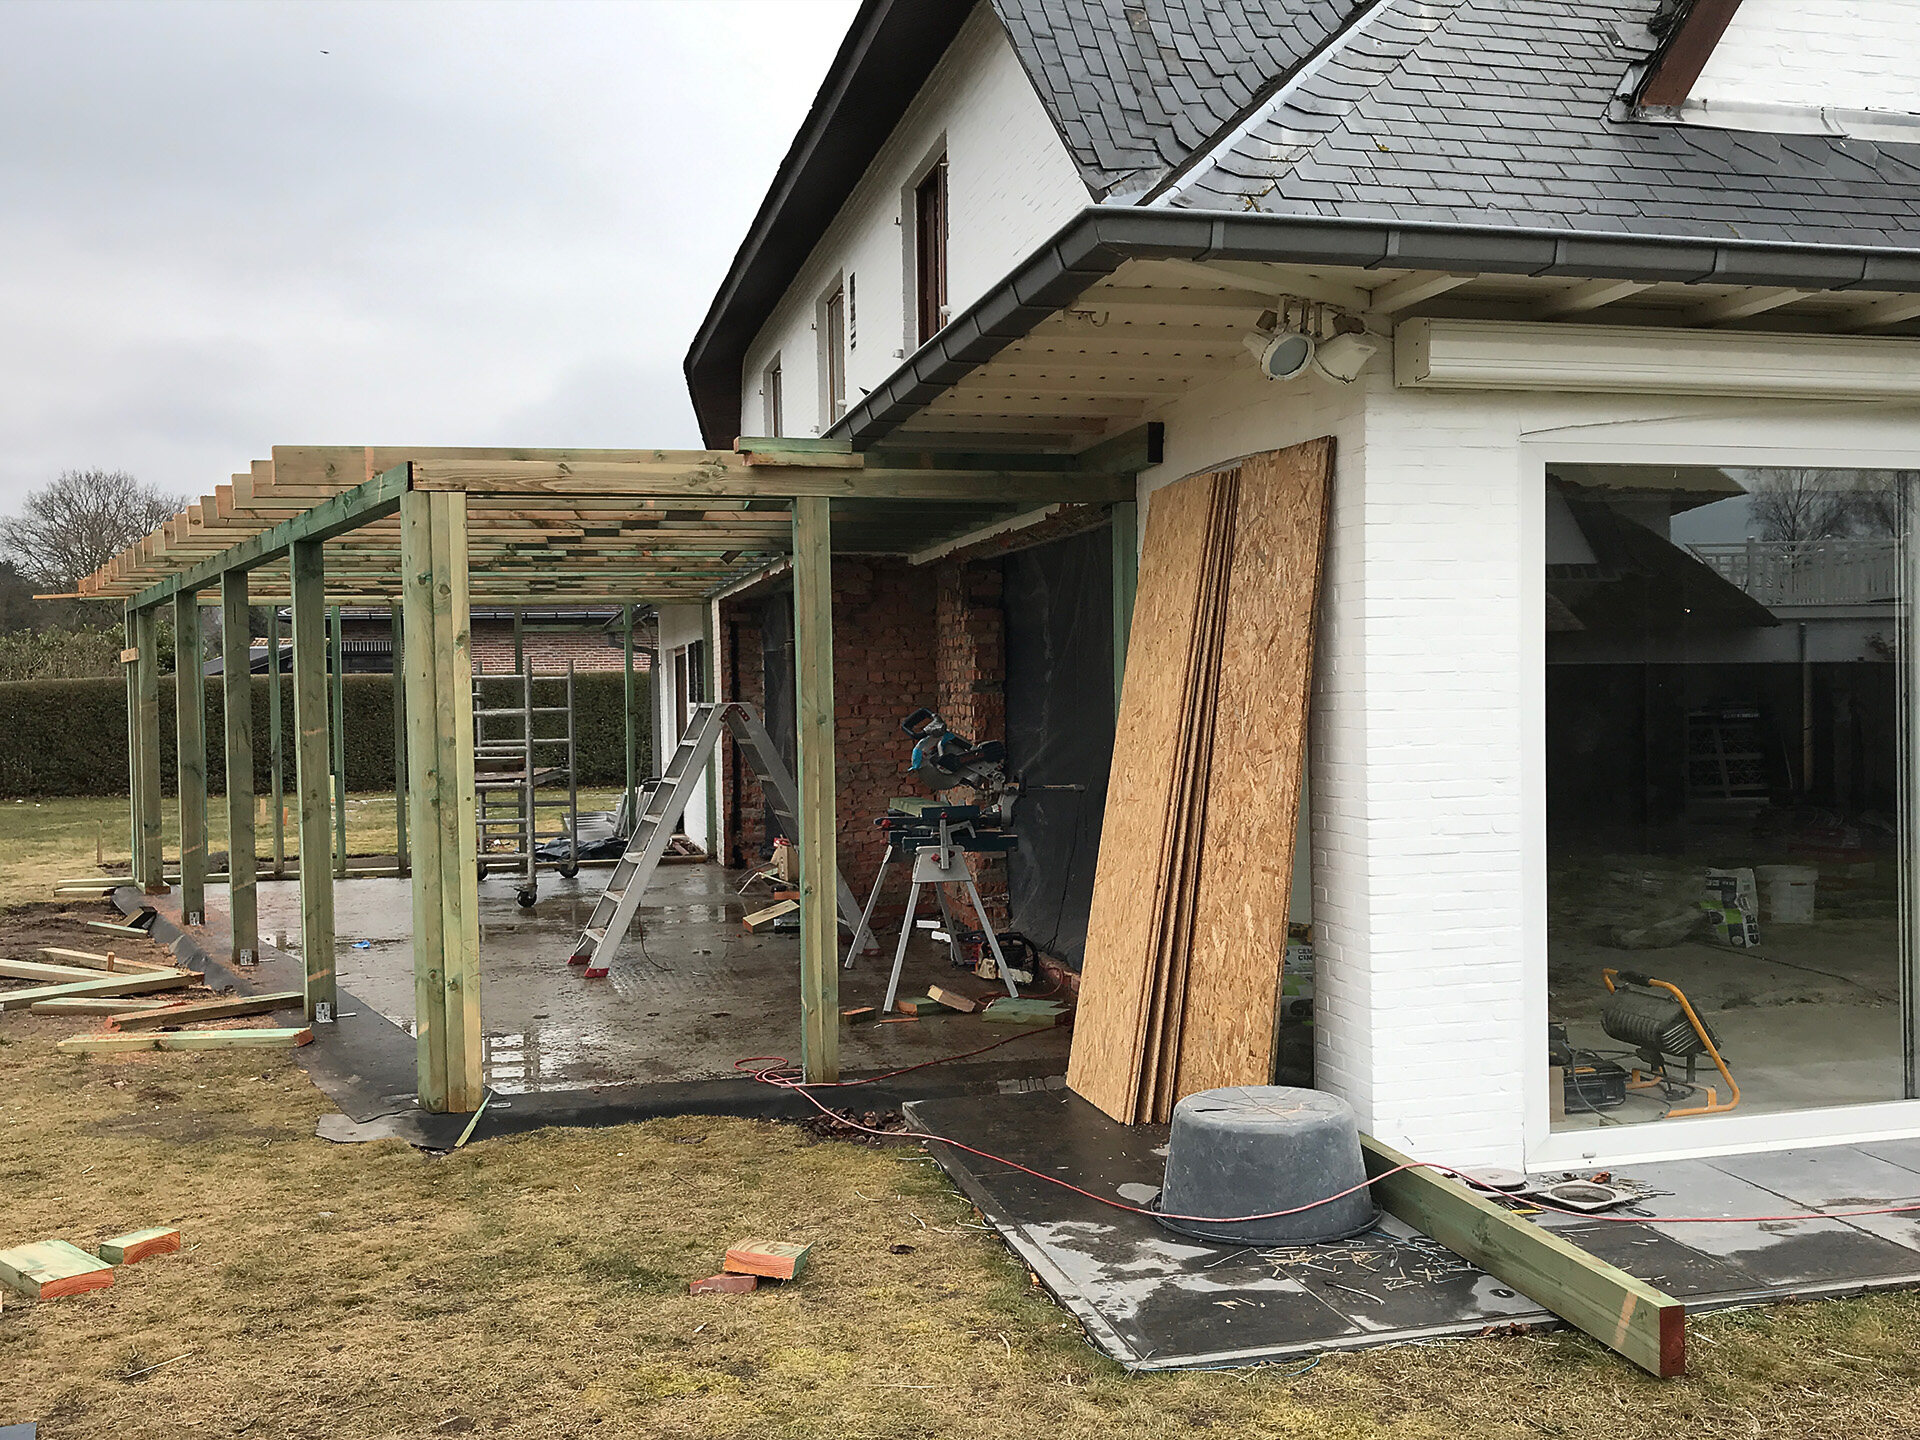
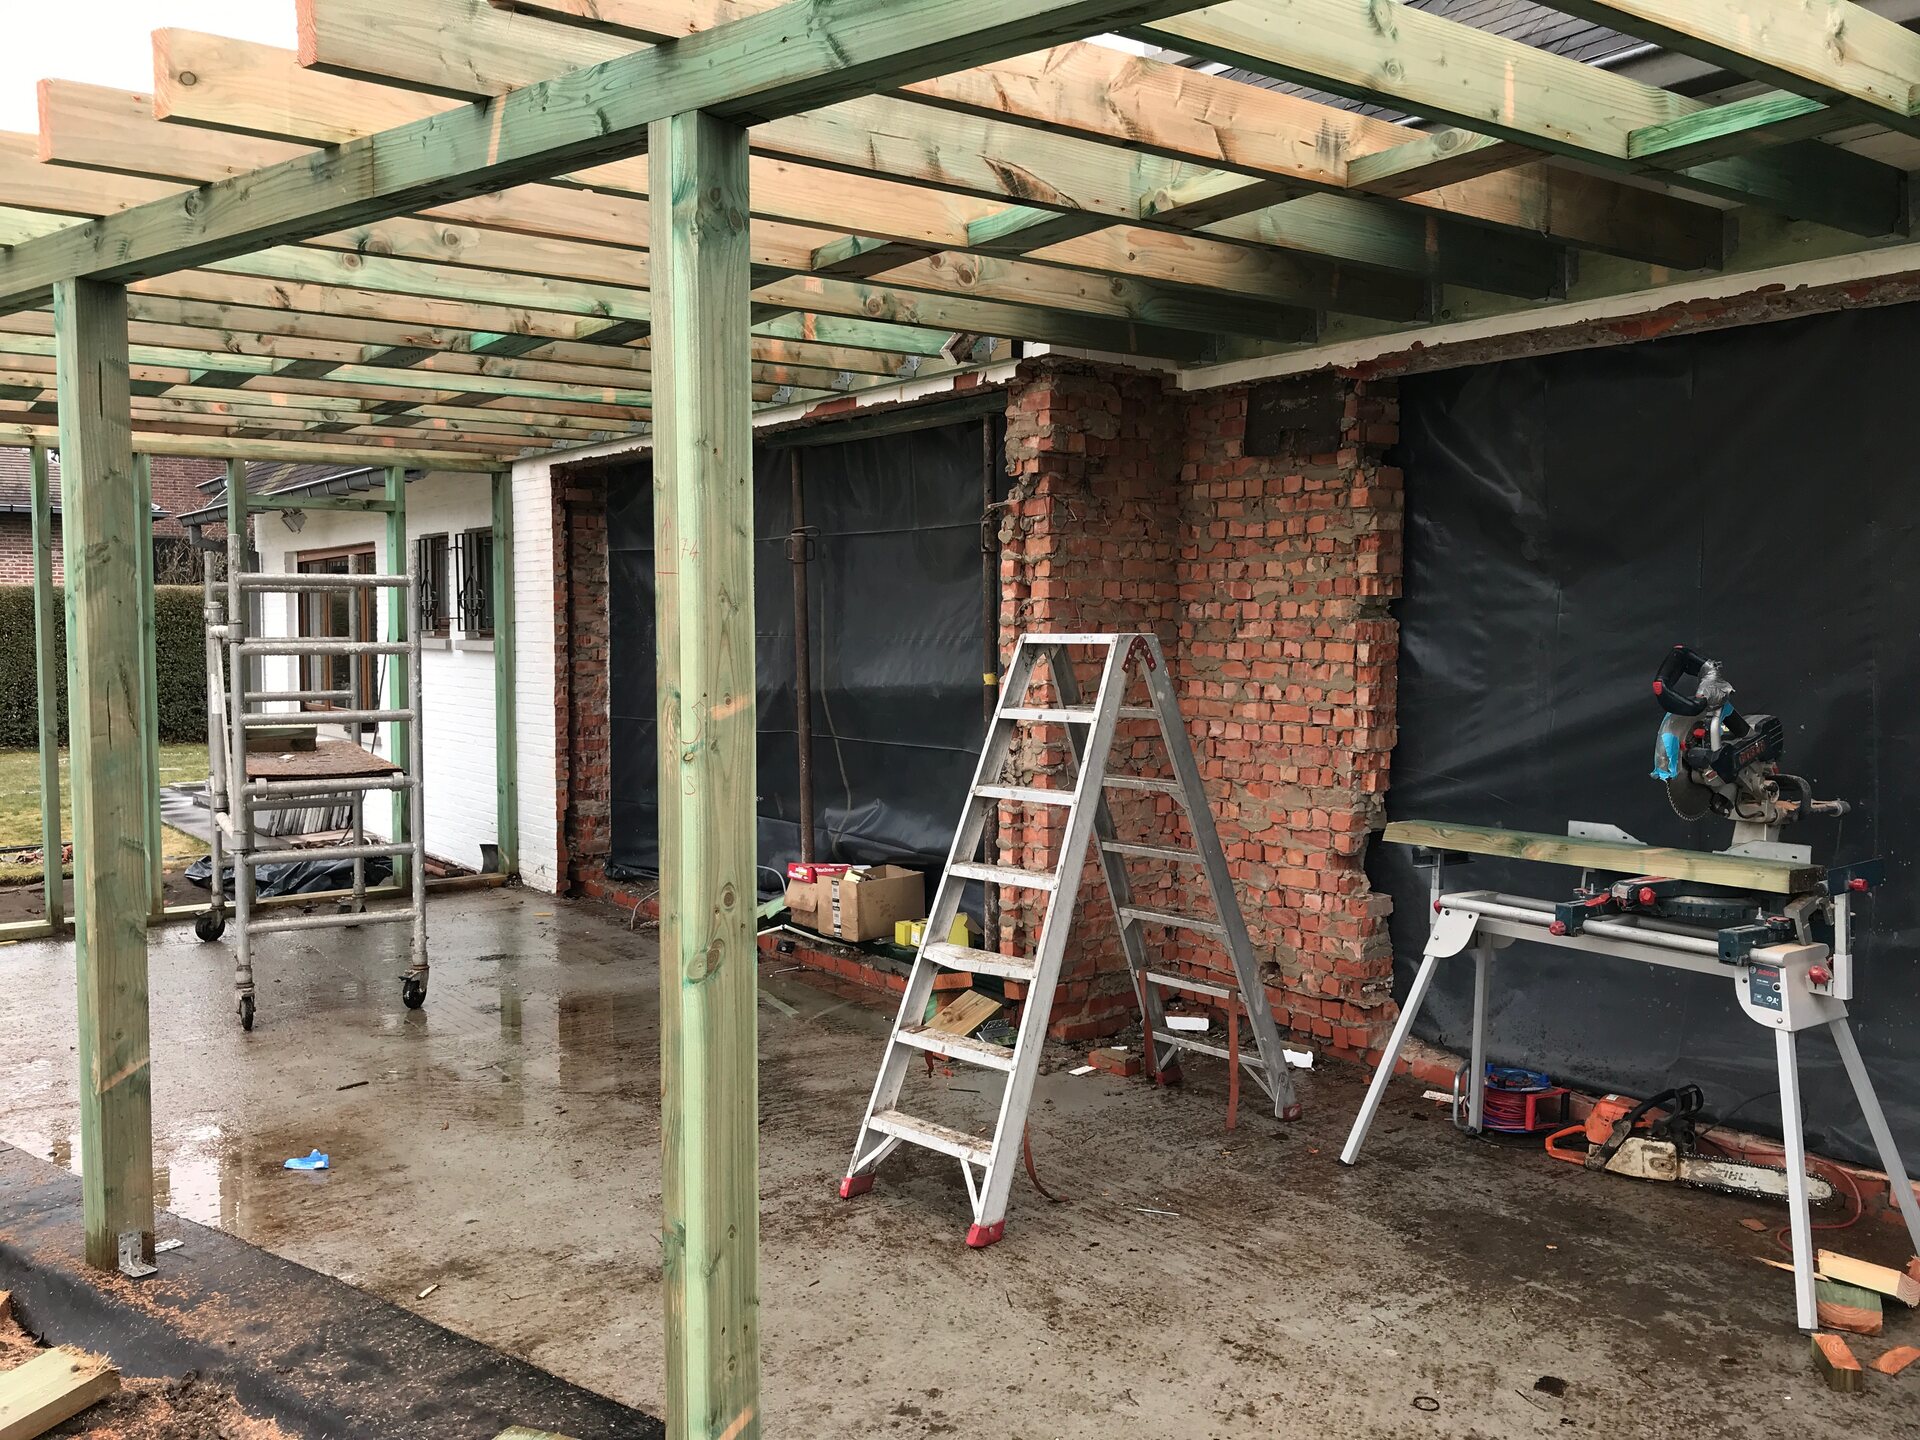
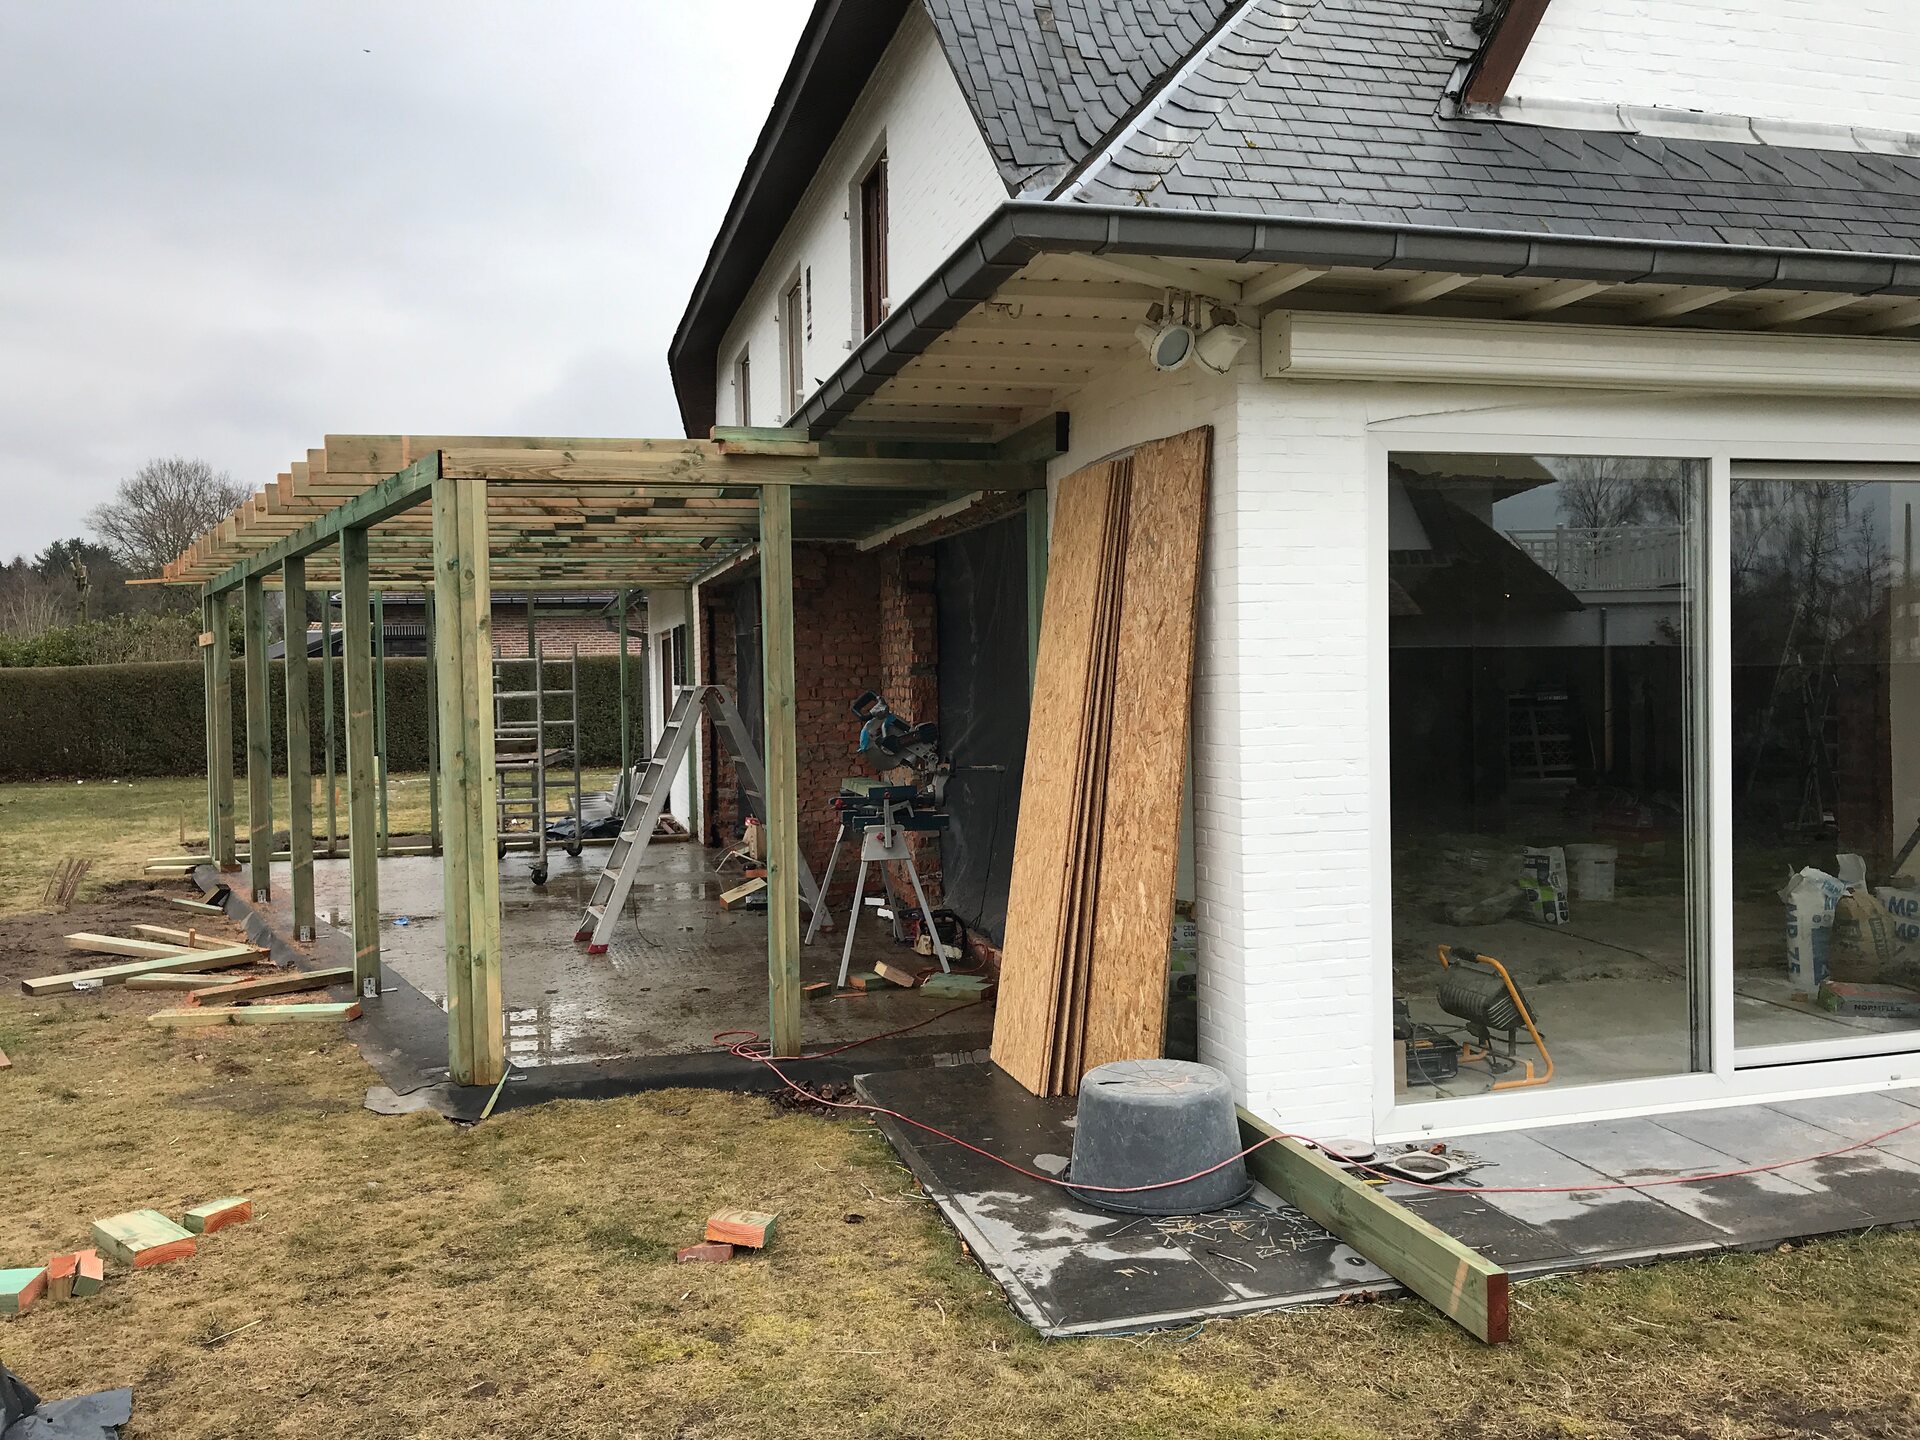
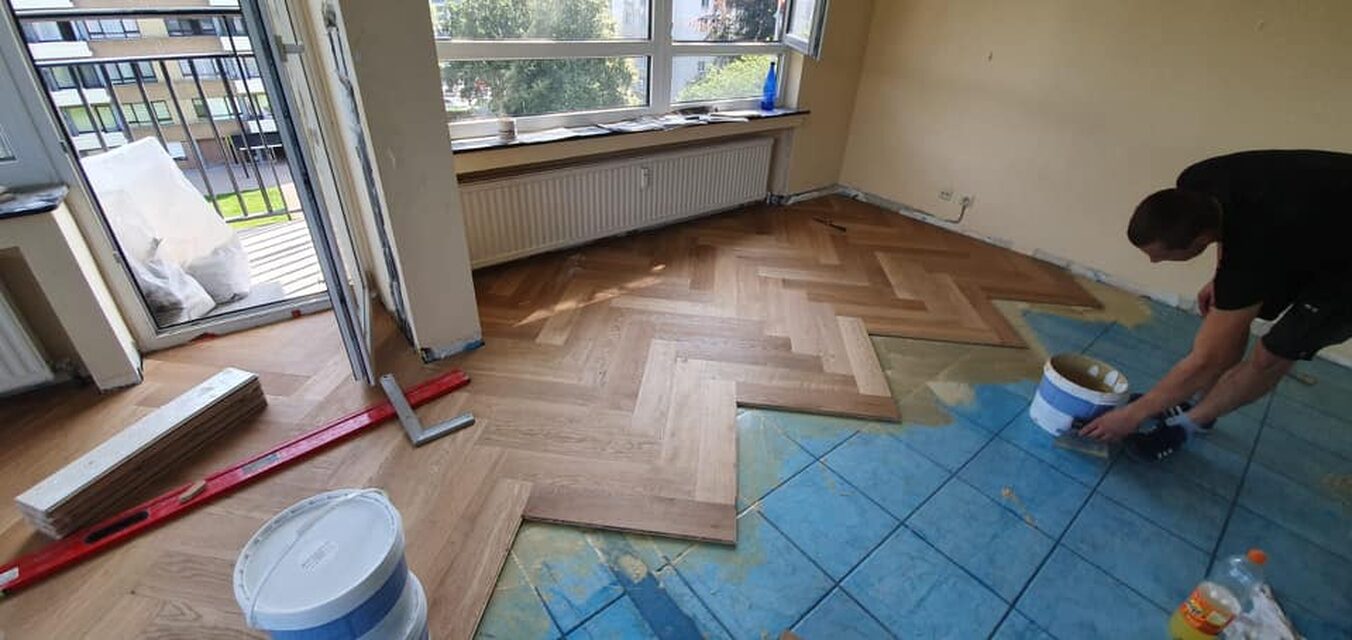
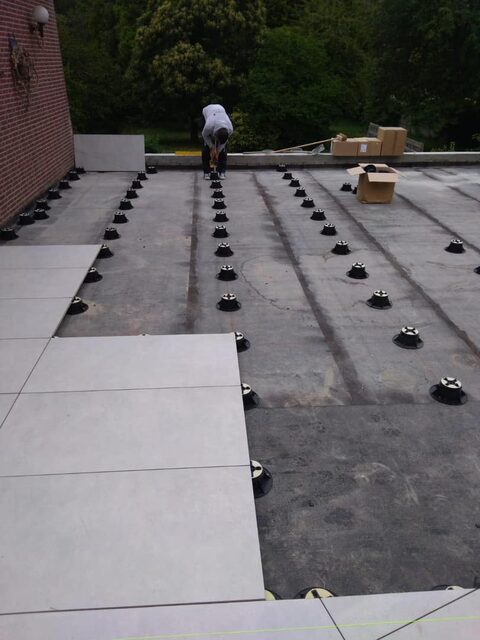
This is where it is decided whether the result will be right. A drain twenty centimetres too high, a light beside the table instead of above it: there is no neat way to fix that afterwards. That is why we are on site, and not only at the unveiling.
These images come from a single house in Temse. From a boarded-up facade to the orangery that now stands against it, with everything in between that you will never see again.
From bare shell to finish
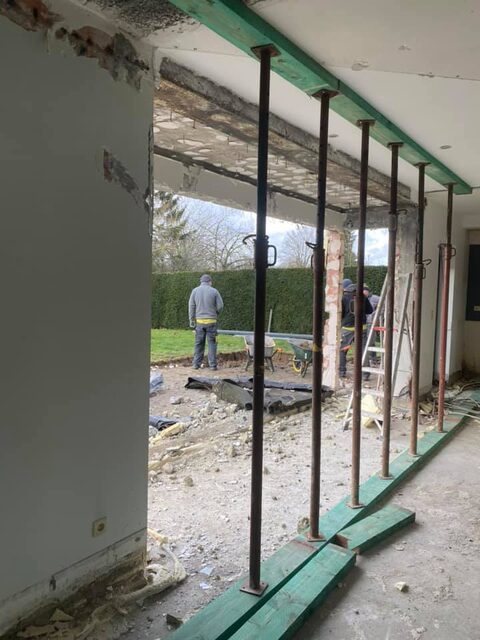
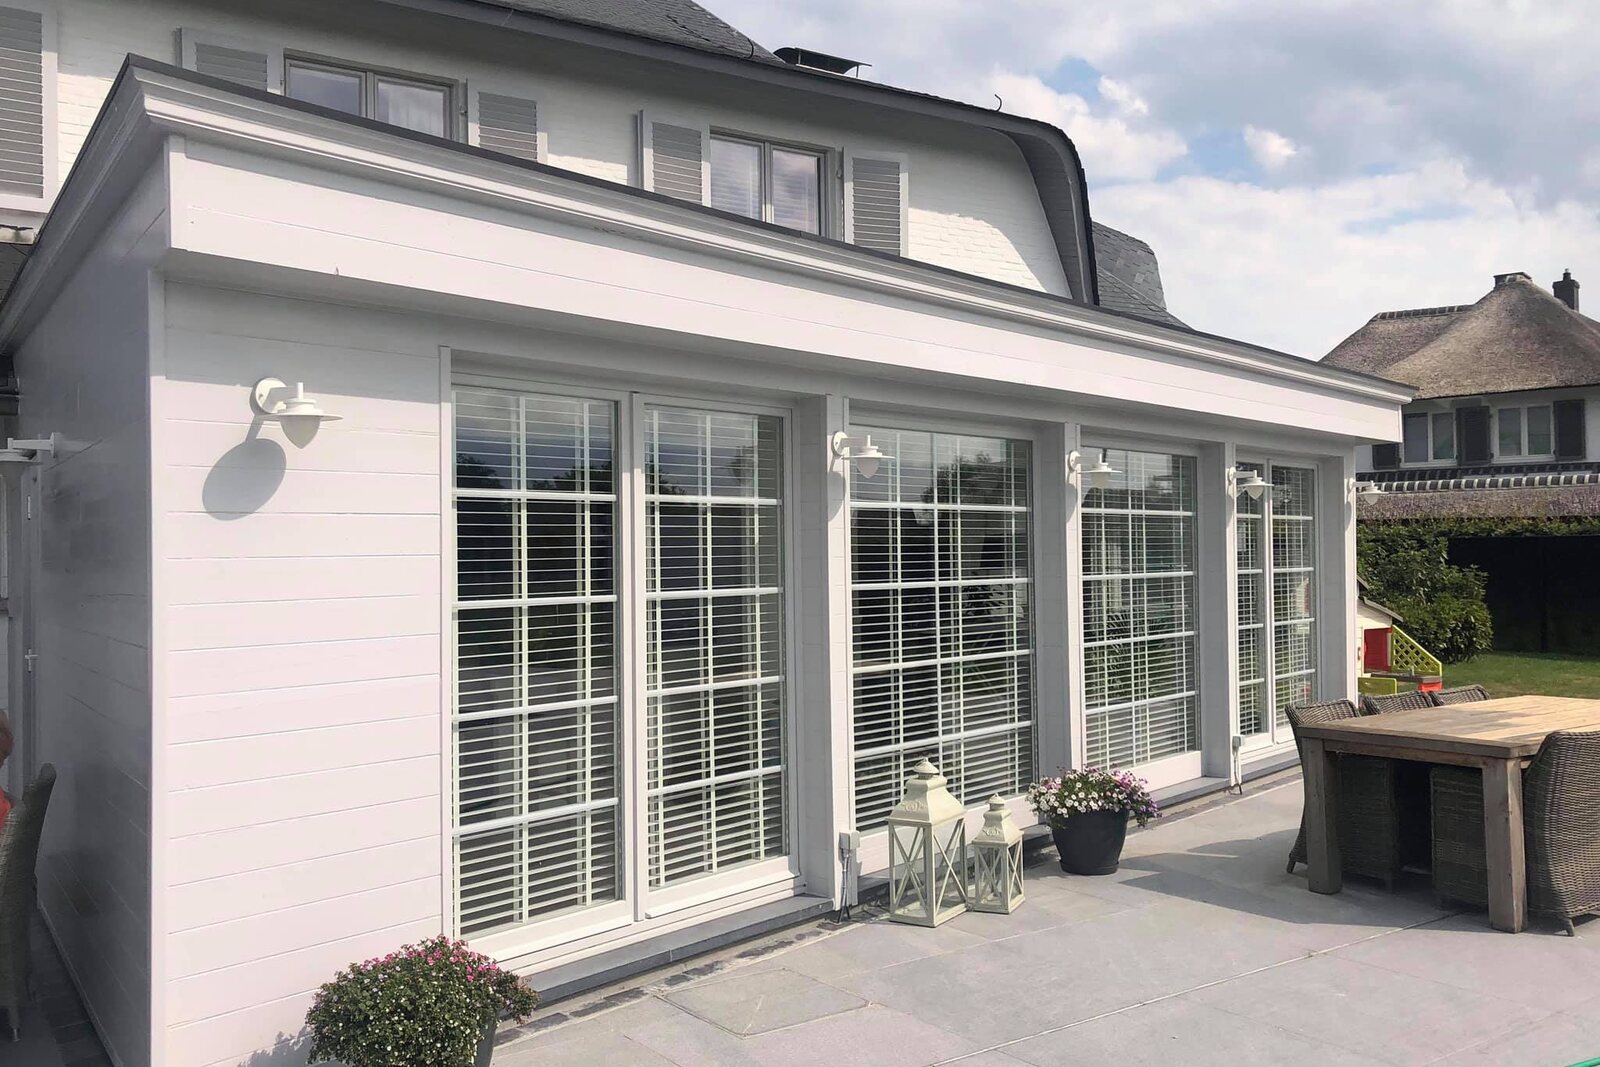
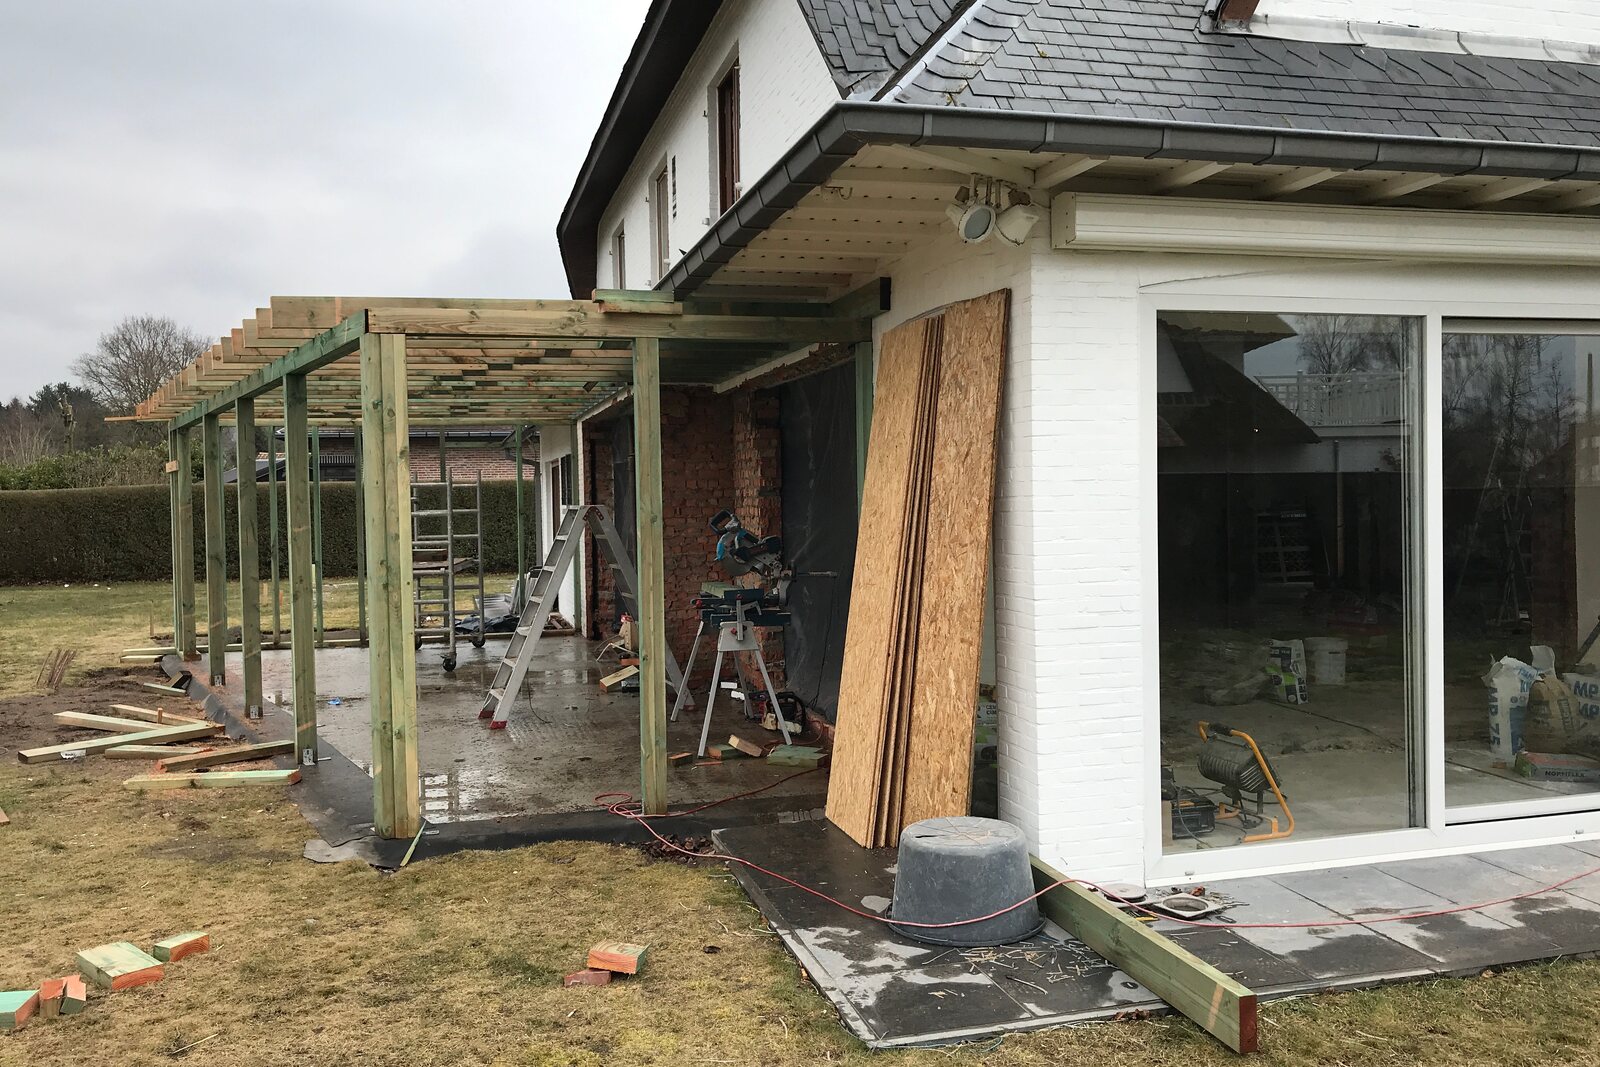
The orangery, from structure to room
The same viewpoint, two moments. First the steel structure in the rain, then the orangery with the glazing and the joinery in place. What you see in the first photograph decides how the second one looks.
The order of works
What goes wrong when the works run in the wrong order
Joinery always comes last. First the pipework and the electrics, then the screed, the plastering and the floor. Have a kitchen fitted before the floor is down and you pay for it twice.
- Pipework and drainageThe drain is in before the unit is drawn, so the basin shifts twenty centimetres.The unit is drawn first, then the drain is set to that dimension.
- Electrics and lightingThe sockets disappear behind the wall of cabinets and the light hangs beside the table.The lighting plan follows the layout plan, so every point sits where the furniture goes.
- Screed and floorThe joinery is fitted before the screed is dry, and the skirting meets nothing cleanly.Screed and floor go down first, and the joinery is measured to the finished height.
- PlasteringThe cabinet goes against a rough wall and the gap is filled with sealant.The walls are plastered and re-measured before the cabinet goes into production.
- Joinery and installationEverything arrives at once and the teams stand waiting for each other.We schedule the trades one after another, so nobody stands idle and nothing is done twice.
Saving money
Saving in the right place
Saving money is not the same as working cheaply. In some places a saving costs you double later; in others a different choice gives a better result straight away. Two examples from our own sites.
- Tiles: do not work over themSticking new tiles onto the old ones. After a few years cracks appear and tiles come loose.Take the old tiles off completely, level the wall, and only then start tiling. Even, and it lasts.
- Walls: do not always add moreBuilding new walls to divide an open space, and then still having to finish them.A finished oak wall in the middle of the room, with the kitchen built against it. One finishing trade saved, and it looks better.
What we take off your hands
You do not have to referee between contractors.
- 01One scheduleThe plumber, the electrician, the plasterer and the floor layer follow on from one another. Not a day is lost waiting.
- 02One point of contactThe same person follows the file from the first survey to the last adjustment, and is reachable throughout the works.
- 03One price on paperThe specification runs item by item. What is included and what is not is on paper before the works begin.
Renovating in phases, so you can stay at home
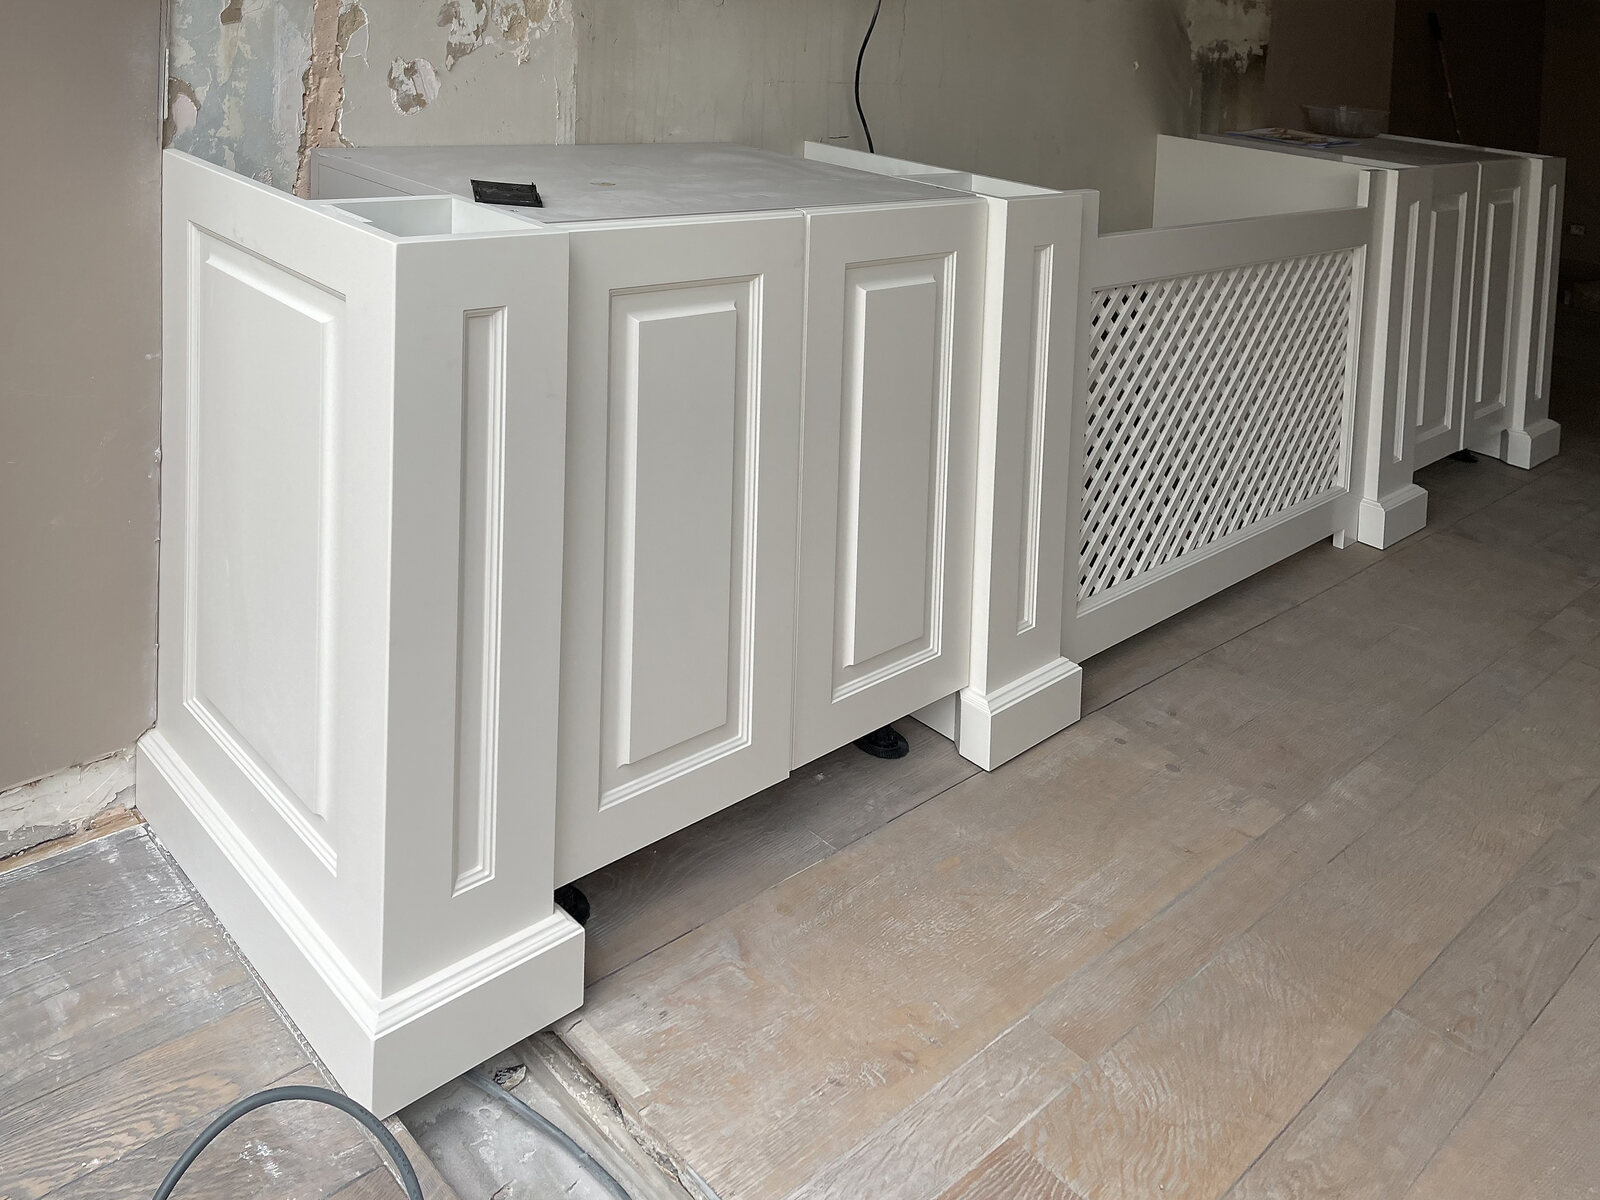
A renovation does not have to happen all at once. In Meerdonk the ground floor came first and the upper floor a year later, so the residents could stay upstairs during the works instead of moving out for a year. That only works if the schedule is in one pair of hands: each phase is finished and handed over clean before the next one starts.
More of what we do
What goes into the house after the renovation.
With us a renovation is the beginning. What comes after it we draw in the same file, so that the cabinetry, the curtains and the lighting are matched to one another.
Finally
Your home is next
A first conversation costs you nothing. We come to you to take measurements, or you visit the showroom in Kapellen. The file follows, in the order of the works. We work throughout Flanders and Brussels, and just as readily beyond.
Make an appointment at your home or in the showroom- Who we areMarcotte Style, complete interiors for twenty-five years
- ShowroomKapellen, by appointment, and we come to your home
- DrawingsOur own studio: floor plan, joinery drawing, lighting and electrical plan, 3D with specification
- ExecutionInstallation by our own team, with the trades coordinated
- ImagesOur own projects, photographed before and after the works